• When you click on links to various merchants on this site and make a purchase, this can result in this site earning a commission. Affiliate programs and affiliations include, but are not limited to, the eBay Partner Network.

Windsor Update

sixgunrunner68

Well-Known Member
Joined
Jul 23, 2010
Messages
3,027
Reaction score
12
Location
Hudson Valley (aka Safe Zone), New York
Big John said:
sixgunrunner68 said:
Nice job Big!
I would guess threaded on the filter tube. From a production stand point, I think it (but who knows from way back) would be easier to have someone thread it together than to press it. Not to mention limiting serviceability. Slide a punch through those side holes and see what happens. It's a 50 50 shot right?

It doesn't seem to come apart. This is kind of a rare piece and I don't want to screw it up, so I posted on an old Mopar forum and no one else has figured it out either. Everyone that responded said they have just cleaned it the best they could by soaking it in solvent. The good thing is the tube is after the filter, so it doesn't have the sludge that the rest of the engine did.
Soaking it is probably the way to go then. Maybe your machinist can hot tank it for you too.
 

Big John

Sit back, relax Don't bitch about the cigar smoke
Joined
Sep 8, 2008
Messages
5,057
Reaction score
79
ACME A12 said:
Looks good, Big. Is that crank gear machined on the end of the snout?

Are the rods on the 265 shorter?

No, it's a seperate piece. In fact, I gotta figure out what the right timing chain to get. There seems to be a couple different ones.

The rods are shorter. The 230, 251 and 265 use the same piston though.
 

69hemibeep

Sponge Bob Square Wheels
Joined
Sep 10, 2008
Messages
22,217
Reaction score
2,457
Location
AZ Desert,
Looks good John. Have you done one of these before or are you learning as you go?
 

Big John

Sit back, relax Don't bitch about the cigar smoke
Joined
Sep 8, 2008
Messages
5,057
Reaction score
79
69hemibeep said:
Looks good John. Have you done one of these before or are you learning as you go?

Learn as I go. The good news is there's a ton of info out there about them. The suprising thing is how well these engines were built. Full floating pistons, hardened valve seats and a floating oil pickup. The oil pickup blew me away... until I realized that the non-detergent oil they ran back then built up a pretty good pile of sludge on the bottom of the pan. Then it makes perfect sense.

The non-detergent oil was a big pain though. The black crap left from the oil was everywhere when I took the engine apart. I have a spare 230 Desoto engine I bought for odds and ends and I pulled the oil pan off that because it's in better shape externally. That is even worse inside! I soaked it for 2 weeks in degreaser and tried to power wash it.... My power washer will strip paint... and it won't touch the crap in this pan. It's going over to my machinst this week to hot tank it... I gave up!
 

Big John

Sit back, relax Don't bitch about the cigar smoke
Joined
Sep 8, 2008
Messages
5,057
Reaction score
79
I've been peeking away at the engine. I should have it together soon.

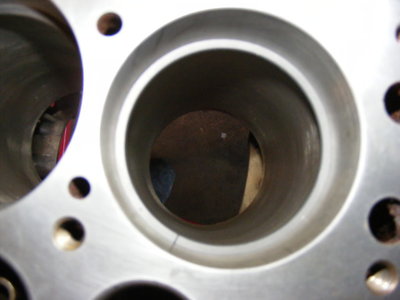
Checking ring end gap:

2013_0529NEHOA20110018.jpg

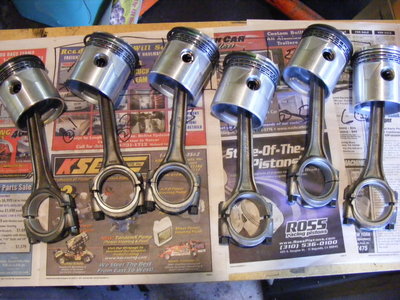
Pistons and rings assembled:

DSCF6193.jpg

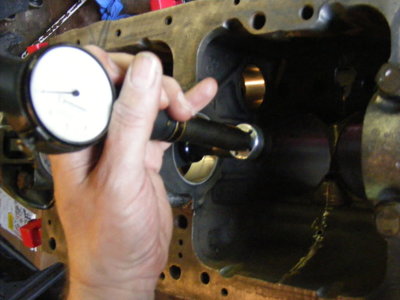
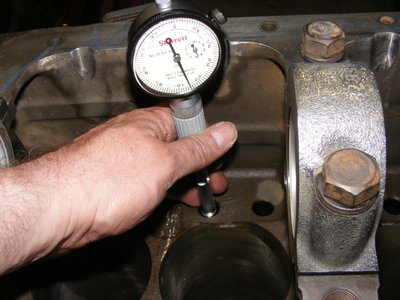
Checking main bearing diameter:

DSCF6199.jpg

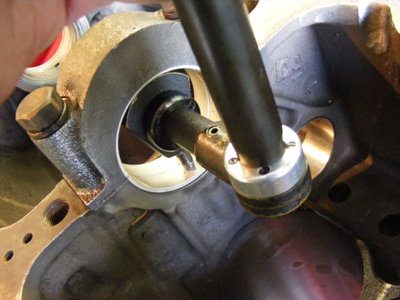
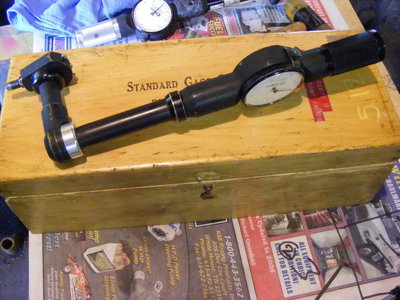
I bought a really cool right angle bore gage. I've never seen one like this.

DSCF6200.jpg
DSCF6202.jpg

Checking lifter bores:

DSCF6204.jpg
 

Big John

Sit back, relax Don't bitch about the cigar smoke
Joined
Sep 8, 2008
Messages
5,057
Reaction score
79
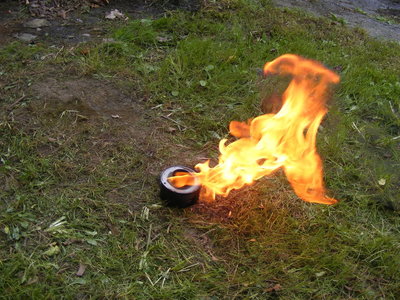
The old Mopar forum had a thread on cleaning the oil breather cap. This is the old school method... fill it with gas and light it!

DSCF6270.jpg

I don't think it's that much cleaner when it's done. It's sitting in my ultrasonic cleaner right now.... where I should have cleaned it to begin with. It's not as dramatic though.
 

Big John

Sit back, relax Don't bitch about the cigar smoke
Joined
Sep 8, 2008
Messages
5,057
Reaction score
79
I've gotten some free time the past couple weeks and I've made some progress.

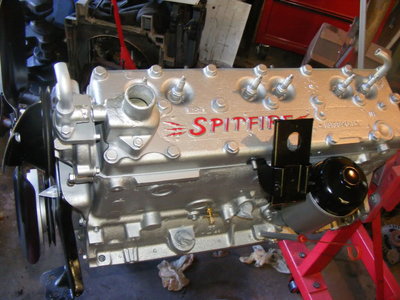
The engine is all asssembled.

DSCF6605.jpg

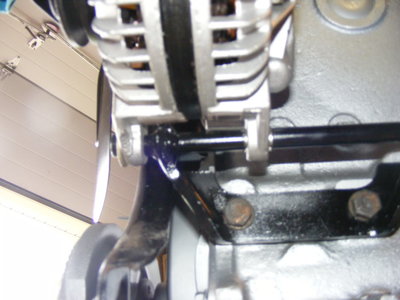
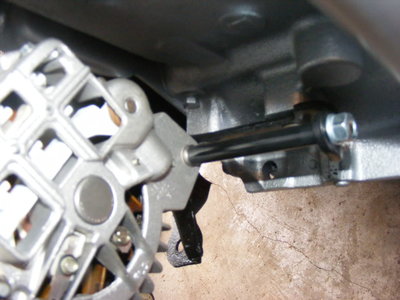
I started on some of the bolt on stuff. Since I'm changing to 12 volts, I'm ditching the generator and putting on an alternator. Most like the GM 1 wire, but I'm using a Mopar alternator. I think that it's a better alternator for one thing and the "1 wire" aspect of the GM alternator is over-rated. I used the original bracket and added some spacers. I welded the two spacers that go between the ears of the alternator to the bracket. That way, if I ever need to switch alternators on the side of the road, I won't have to worry about getting them all in. It makes it a touch more rigid too.

DSCF6615.jpg
DSCF6613.jpg

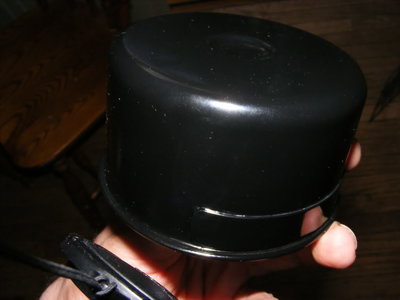
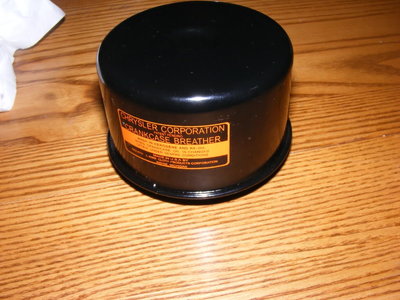
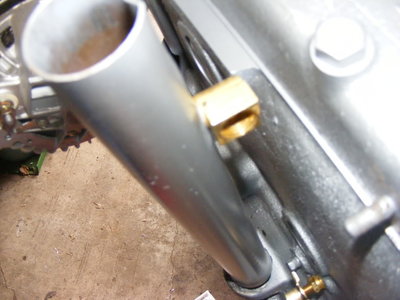
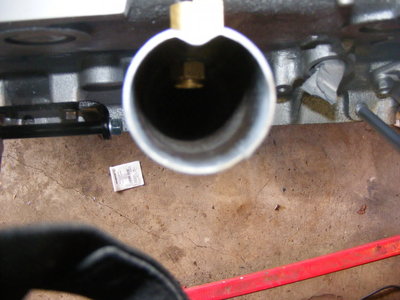
Another update is I'm fitting a PCV system to the engine. Chrysler actually had retro fit systems for these engine going back into the forties! In the early sixties, the PCV became mandatory to control emissions but the upside is the engine oil stays much cleaner and the engine lasts longer. I bought a PCV valve and the cap for the road draft tube from a Dodge Power Wagon and I have to build all the plumbing.

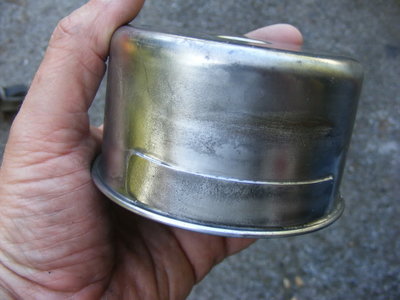
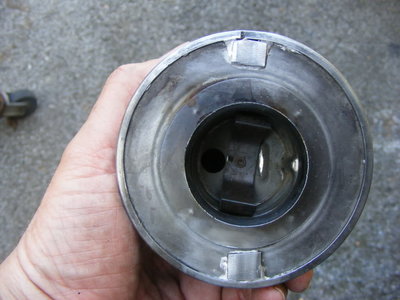
The breather needs to be blocked and a line run to the air cleaner. This will serve as a source of filtered air at low speeds. I've started on the breather, filling the intake hole by soldering a small patch over it. I also had to cover the drain holes in the bottom of the breather.

DSCF6611.jpg
DSCF6612.jpg

Paint and decal.

DSCF6624.jpg
DSCF6629.jpg

The fill tube got a fitting.

DSCF6618.jpg
DSCF6619.jpg
 

mcmopar

Well-Known Member
Joined
Dec 28, 2008
Messages
3,438
Reaction score
9
Location
Orlando, FL
Looks great! :thumbsup: I like the look of that cleaned up engine and the updates you are adding will really pay off when it's up and running.
 

ACME A12

Plaid Sport Coat Wearing Moderator
Staff member
Joined
Nov 4, 2008
Messages
13,694
Reaction score
857
Location
New Port Richey, FL
I like the paint on the spark plugs; the boyz over on the LOH Playground would be proud of you...just make sure you use the correct shade of antifreeze... :lol: :lol: :lol:

Looking good! :thumbsup:

:jester:
 

Roadcuda

Well-Known Member
Joined
Sep 10, 2008
Messages
10,547
Reaction score
297
Location
Rocky Hill, Ct
Looks great Big! That engine looks so similar to what was in my '41 Plymouth it brings back memories of working on it. It was so much easier to do the simple things like plugs, wires, and the other normal maintenance that has to be done!
 

Big John

Sit back, relax Don't bitch about the cigar smoke
Joined
Sep 8, 2008
Messages
5,057
Reaction score
79
ACME A12 said:
I like the paint on the spark plugs; the boyz over on the LOH Playground would be proud of you...just make sure you use the correct shade of antifreeze... :lol: :lol: :lol:

Looking good! :thumbsup:

:jester:

Yea, I've always used old plugs when I paint the engines. These will stay in until the engine is in the car and ready to fire. With them sticking up like that, they just are calling to be broken off by the engine sling.

You know what's really funny? The guys on the old Mopar forums aren't into the "numbers matching" or any of that. They don't like modified cars, but things like "correct" plug wires or hoses gets blown away by making them drivable first.
 

moparstuart

Well-Known Member
Joined
Feb 27, 2009
Messages
6,627
Reaction score
7
Location
overland park ks / odessa missouri
Big John said:
[quote="ACME A12":278dreme]I like the paint on the spark plugs; the boyz over on the LOH Playground would be proud of you...just make sure you use the correct shade of antifreeze... :lol: :lol: :lol:

Looking good! :thumbsup:

:jester:

Yea, I've always used old plugs when I paint the engines. These will stay in until the engine is in the car and ready to fire. With them sticking up like that, they just are calling to be broken off by the engine sling.

You know what's really funny? The guys on the old Mopar forums aren't into the "numbers matching" or any of that. They don't like modified cars, but things like "correct" plug wires or hoses gets blown away by making them drivable first.[/quote:278dreme]
me too drivablilty is number one
 

Big John

Sit back, relax Don't bitch about the cigar smoke
Joined
Sep 8, 2008
Messages
5,057
Reaction score
79
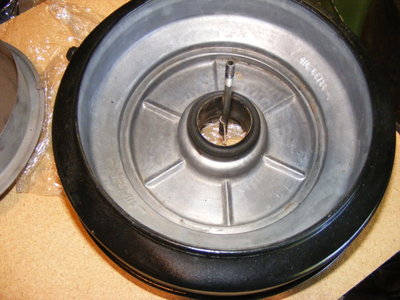
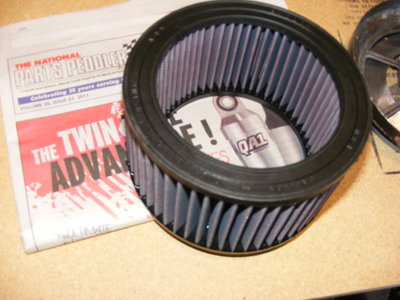
The car was missing it's oil bath air cleaner. I found one on ebay. It was in decent shape and it needed cleaning and paint. I tried some of the Rustoleam engine paint over Rustoleam primer and it failed pretty miserably. A trip into the blast cabinet was in order and I decided to change it from the oil bath to a replaceable element.

DSCF6015.jpg

The base was easy, there's a recess that a filter will fit right into.

DSCF6150.jpg

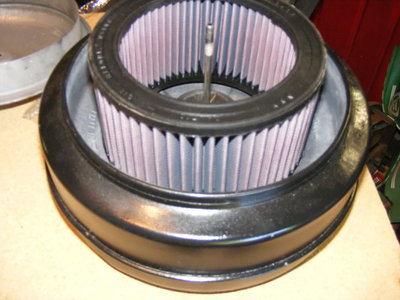
After some measurements, I found a K&N filter that fits correctly.

DSCF6151.jpg
DSCF6152.jpg

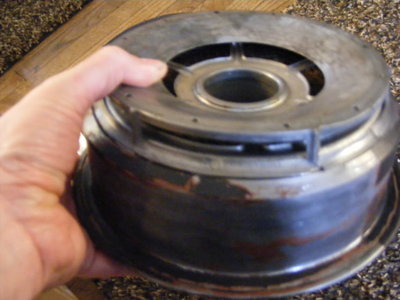
The top was a different story.

DSCF6017.jpg

DSCF6018.jpg

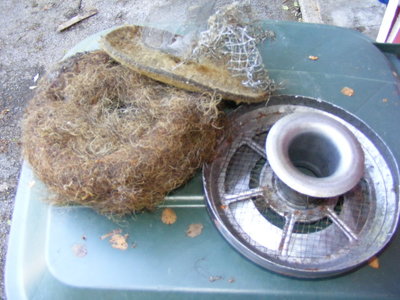
I cut the top and cleaned the horse hair and stuff out.

DSCF6148.jpg

DSCF6158.jpg

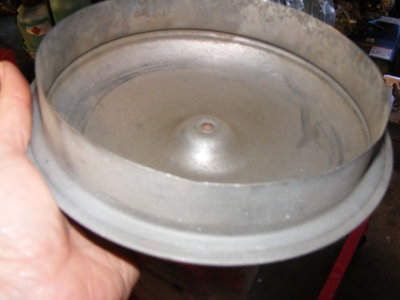
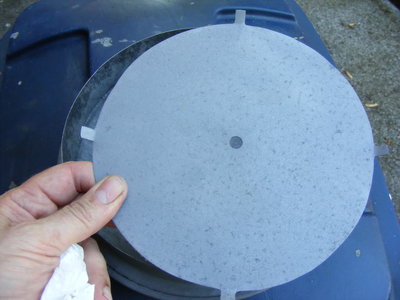
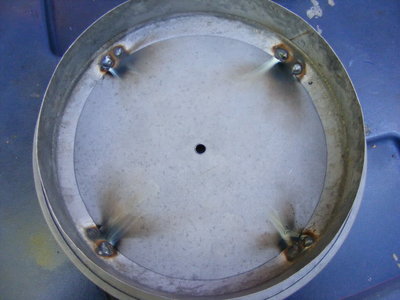
The top needs to seal to the filter, so I cut a flat piece of sheet metal.

DSCF6261-1.jpg

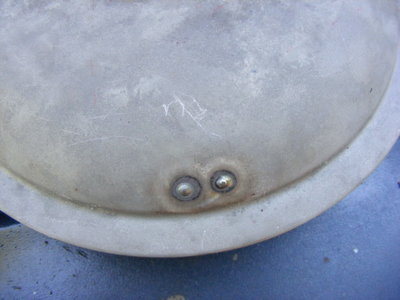
Welded into place.

DSCF6264-1.jpg

Got some decent penetration on the welds.

DSCF6265-1.jpg

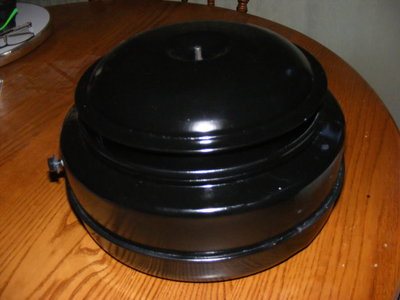
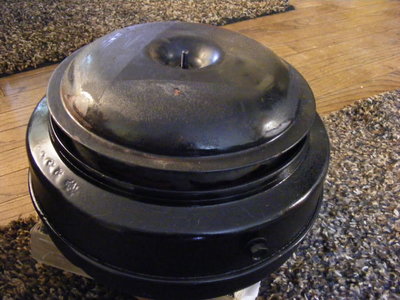
Some new paint and it's done.

DSCF6637.jpg
 

Jim S.

Well-Known Member
Joined
Aug 3, 2009
Messages
1,798
Reaction score
0
Location
White Bear Lake, Mn.
It all looks great John. Can I ask a question since I'm a welding rookie? When you did the air cleaner cover, I'm assuming 8 holes were drilled and you did "plug welds" right? Also what are the 4 tabs on the cover used for?
 
Back
Top