• When you click on links to various merchants on this site and make a purchase, this can result in this site earning a commission. Affiliate programs and affiliations include, but are not limited to, the eBay Partner Network.

No more Road for the Runner!

Sixtynine_Bird

Well-Known Member
Joined
Nov 30, 2014
Messages
654
Reaction score
125
Location
France
Man you sure beefing up that unibody I sure hope all is square and right brother


Sent from my iPhone using Tapatalk

I hope so too lol! Before starting everything we put it on jack stands at the crucial spot, weld two bars in the car to reinforce before removing the quarters take measurements, and once it was all done we took the same measurements and had the same numbers. So I guess it didn't move :)
 

Sixtynine_Bird

Well-Known Member
Joined
Nov 30, 2014
Messages
654
Reaction score
125
Location
France
A wise decision is to restore or replace parts as you remove them. There is nothing worse than having a completely finished body sitting in the shop gathering dust while you then restore or wait for replacement parts.

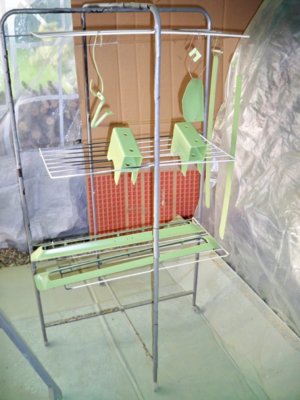
Here's mine - everything that is NOT on the car has already been restored, wrapped and packed away for fast reassembly. I haven't driven this since 1985 - when its done I don't want to spend years putting it back together!
View attachment 11646

View attachment 11646

Good strategy! :) I did it too for the most of it. Only the dashboard and the front glass that are not done yet. I will get to it this summer for the windows, and the dashboard we'll deal with it when the car will be in the paint shop.
 

Sixtynine_Bird

Well-Known Member
Joined
Nov 30, 2014
Messages
654
Reaction score
125
Location
France
Hello everyone :)
A quick update here, long time that I didn't post on my project.

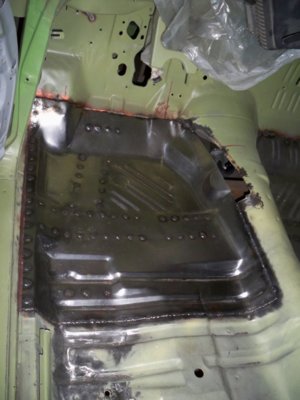
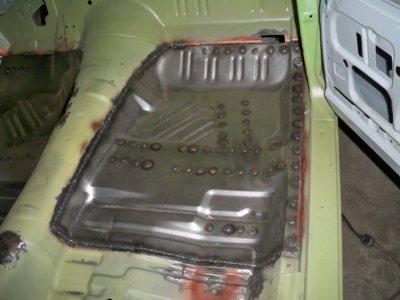
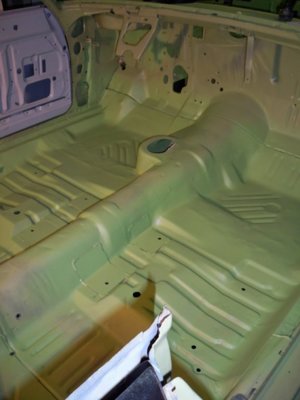
So now both of the front floors are in, every single weld had been grinded.
We did some repair on the 4-speed hump, then welded it to the floor.
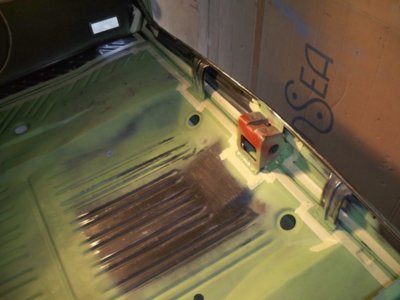
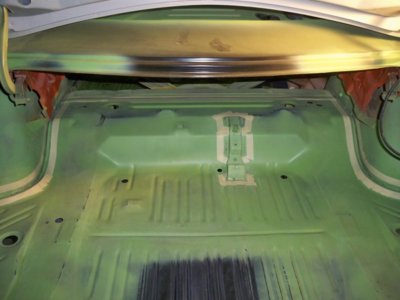
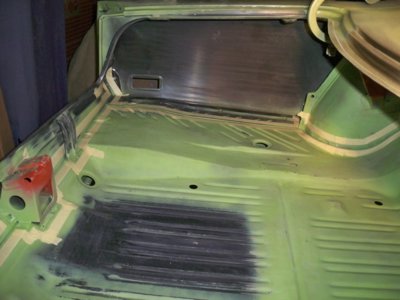
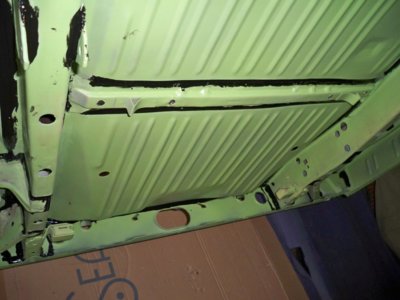
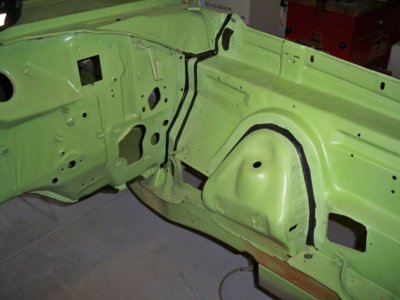
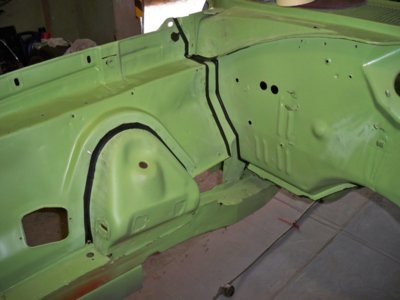
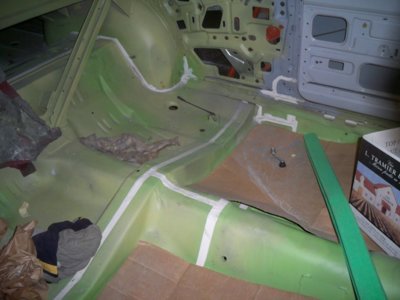
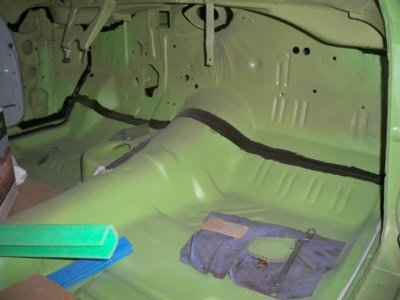
Once everything was repaired, it was time to seam seal the car. So, seam seal the whole underside first, then go inside started from the trunk and moved forward, finally ended up with the engine compartment.
That was the last body work at least we think it was ^^
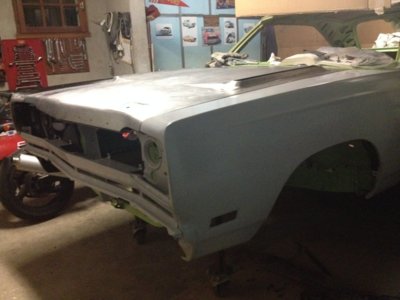
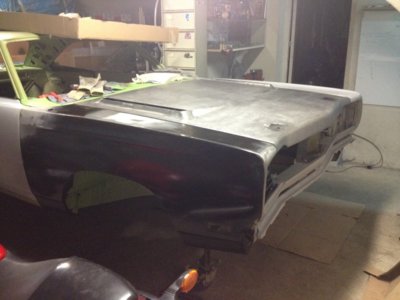
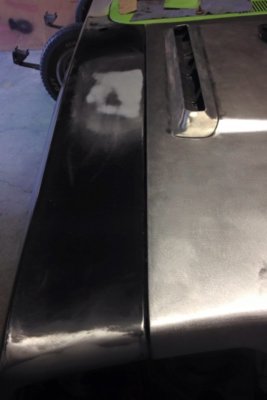
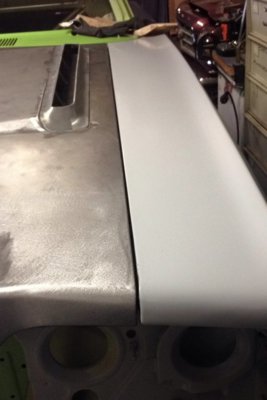
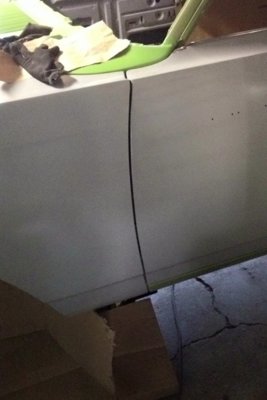
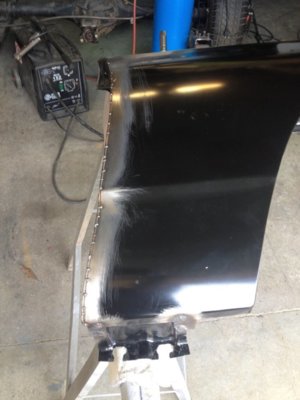
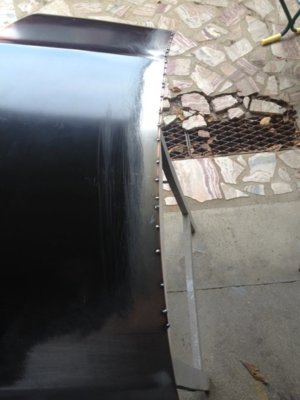
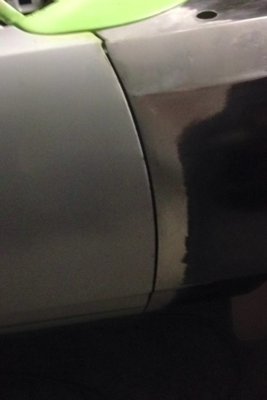
We reassembled the front end, both fenders, the hood and the nose of the car. As you may know we bought a new passenger front fender from AMD. But it was impossible to make it fit to the car!! When it was on the car we couldn't have the gap we'd like to have! Left side is perfect the same gap all the way around, 4-5 millimeters, from the top of the fender down to the bottom of it where it is fastened to the rocker.
On the right side with the new fender, on the top of it between the fender and the door we have 4-5 millimeters and when you are going down through the edge, it keeps going wider and wider till 10 millimeters... and that is not it, we couldn't match the curve of the fender with the door.
So it is very ugly. You got a huge gap!

So first of all, we decided to remove the spot weld from the reinforcement on the bottom of it the one next to the two holes for the screws going through the rocker, moved it like 4-5 millimeters backward then welded back. Doing so, the curve of the fender is finally matching the door. But the gap problem wasn't solved...

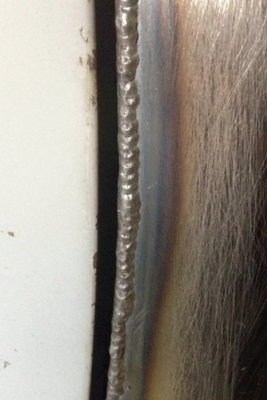
Since yesterday, we decided to weld a stick on the edge of the fender to reduce the gap. Hope we'll be able to finish it tonight. But so far it looks pretty good :) So now we are happy lol!

Have to post some pics. I will later.
 

Sixtynine_Bird

Well-Known Member
Joined
Nov 30, 2014
Messages
654
Reaction score
125
Location
France
Hello everyone! :p
I am not very present on the forum since a few months, been around a few times but didn't post much. Sorry about that, so here I am now to let you know where the car is heading to.

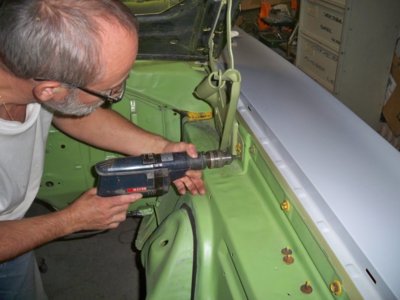
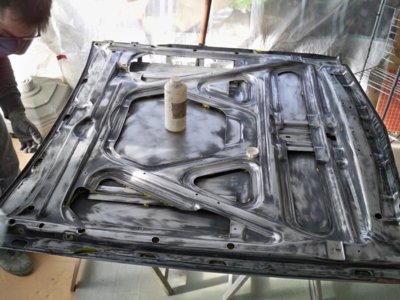
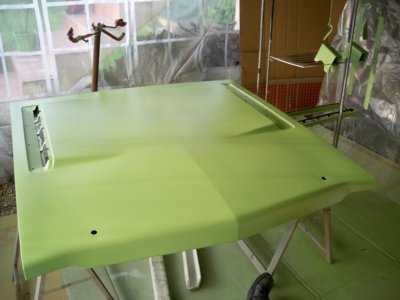
We finally finished the alignment issues, everything is now fix properly at least as far as we are concerned, and we are happy with it. We've done a lot of different things since last time, mock up the front end, drill some little holes in the hood and hood hinge, so we can reassemble the car by limiting the chance to scratch the new paint. talking about paint, we are going to call the paint shop guy by the end of the week to get a date to bring the car to the paint shop. The car is ready for paint finally!!!!
Here comes the fun part! :beep:

Once we had done everything we wanted on the car, we started the little work of cleaning, refresh the pieces and different parts as :

- Front windows are done, we polished the trim, cleaned the glass and then wrapped them.

- Vent window are done too, the seal were in good shape, but when the previous owner did the paint on the car, it wasn't masked enough so a lot of paint went on it, so a lot of cleaning we had to do (Yoda style no? lol) and then polished the trim as well and wrapped them too.

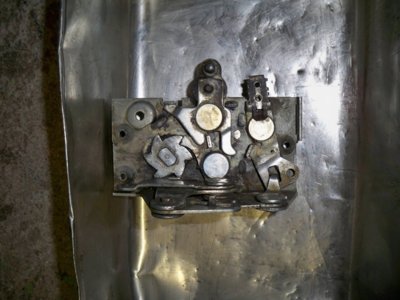
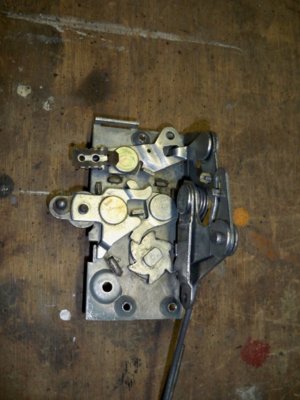
- the door lock systems (rods etc) are totally cleaned and reassembled to see if everything work well and it does so perfect! We will grease everything when the car will be back from the paint shop and the doors back on the car.

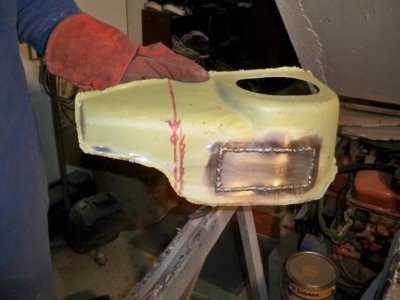
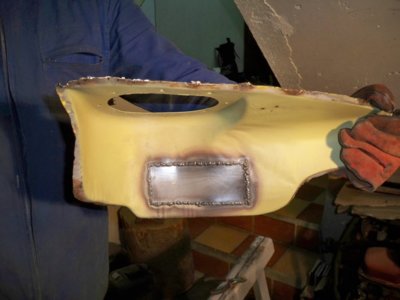
- On the inner fender, like you all know, we have, I don't if you call it that way, trap visit just under the battery and one on the other inner fender, hope you will see what I mean lol, anyway, those steel plate we decided to make them in carbon fiber. We have carbon fiber, and didn't know what to do with, so we decided to do those parts because it is small and nobody will see it unless the hood is lift. So we didn't change the look of the car, it remains pretty original :) It is just something cool to upgrade a little bit, at least we think so lol

- And we started to repair the dashboard! So we pull everything apart from it. Began to do some sanding on the ashtray and on the frame around the gauges.

- I also decided to put the mph counter to 0! It took about three days to put it back to 0 lol But the car will be new again, it is not a matching #'s car, and when we bought the car 4 years ago, it wasn't working so it is not a problem.

So last things to be done are:
- The dashboard need to be sand bare metal then need a new paint for it, what would you suggest for the paint? Flat or satin black or shiny black paint for the frame? I think we will paint it flat or satin what do you think about that?

- The drive train, rear axle needs to be open, the gear box needs to be open too, and finally the motor
Those are the last things to do before the car can run!

Everything else is done! We finally see the light at the end of the tunnel! :)

We also bought new parts from Yearone. The hardware for the rear drums, and the dash harness. Big buy but needed sadly. The dash harness we have is a real mess!! Some wire are taped on the harness without any welding! --' Those wires are connecting to bulbs added for extra gauges. So we decided to stop all of that! and decided to buy a new one!

That's it for today :)


Hope you guys are all fine and enjoying your birds! ;)
 

quikbird

Well-Known Member
Joined
Mar 1, 2014
Messages
3,284
Reaction score
1,090
Location
Sarasota, florida
glad to hear you are moving along. by the way rolling back the odometer at least here in the states is illegal. big fine for it. hope is not same in france. talk to hemibeep about dash paint. he has that info
 

Sixtynine_Bird

Well-Known Member
Joined
Nov 30, 2014
Messages
654
Reaction score
125
Location
France
Thanks Quikbird for the info :)
Oups about the odometer... I guess it is illegal in France too not sure, hope they won't find out... :\ I remember the number it was so i will be able to put it back to the numbers it was.
 

Russ69Runner

Well-Known Member
Joined
Aug 4, 2016
Messages
7,787
Reaction score
3,337
Location
Lake Wales Fl.
69hemiebeep posted a forum on the paint for the dash. He got it out of California. It is a lacquer paint. This forum was posted in project's. Or just send him a PM. Russ. If I find it will contact you. :beep:
 

Russ69Runner

Well-Known Member
Joined
Aug 4, 2016
Messages
7,787
Reaction score
3,337
Location
Lake Wales Fl.
Found it Dash Paint Restoration Al Acrylic Lacquer from TCP Global Contact restoration Dept. Hope this will help ya. Company in Ca. :D
 

Sixtynine_Bird

Well-Known Member
Joined
Nov 30, 2014
Messages
654
Reaction score
125
Location
France
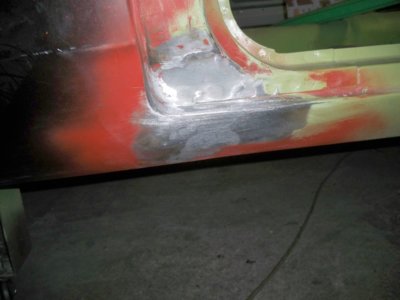
Seam sealed the car, didn't took the pic of the trunk once it was seam sealed but have the pics of the preparation for that so you get the idea of what it looks like now :)

100_5459.JPG

100_5460.JPG

100_5461.JPG

100_5471.JPG

100_5474.JPG

100_5475.JPG

100_5487.JPG

100_5489.JPG
 

Sixtynine_Bird

Well-Known Member
Joined
Nov 30, 2014
Messages
654
Reaction score
125
Location
France
Mock up the front end to see if everything is correct, and here are the pics with the modification we had to do o the AMD passenger fender:

IMG_6742.JPG

IMG_6743.JPG

IMG_6746.JPG

IMG_6747.JPG

IMG_6748.JPG

IMG_6749.JPG

IMG_6750.JPG

IMG_6780.JPG

IMG_6781.JPG
 

Sixtynine_Bird

Well-Known Member
Joined
Nov 30, 2014
Messages
654
Reaction score
125
Location
France
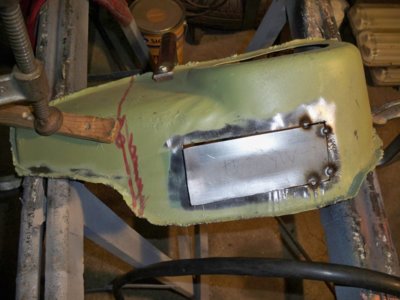
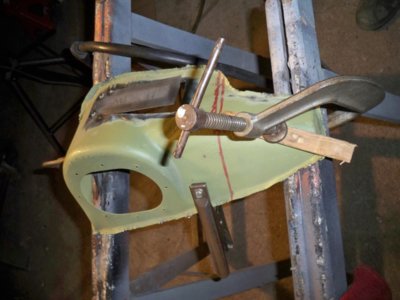
We also welded a piece of metal to clog the hole of the antenna. It is a AM radio and in France it doesn't work anymore, the baffle is absolutely dead... And the engine sound will be our radio :) And if someday we want to have radio we will hide a new radio device in the glove box or something like that and plug our MP3 to listen old blues and rock music. And we like to think that it will soften the line of the car.
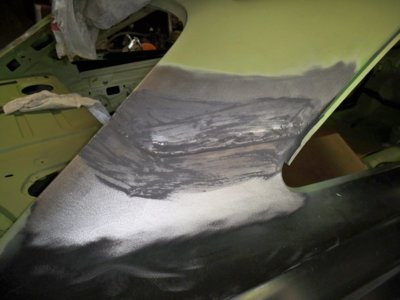
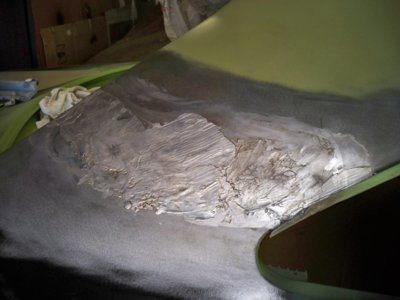
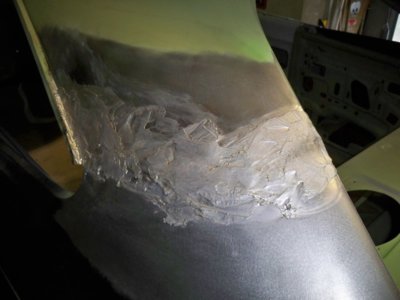
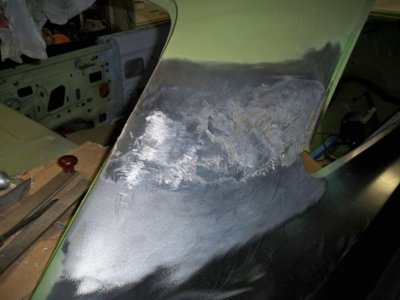
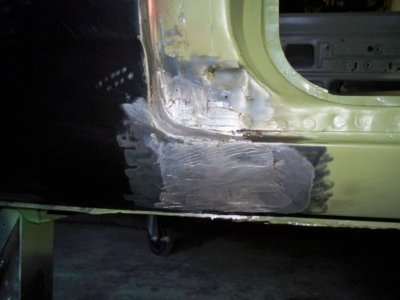
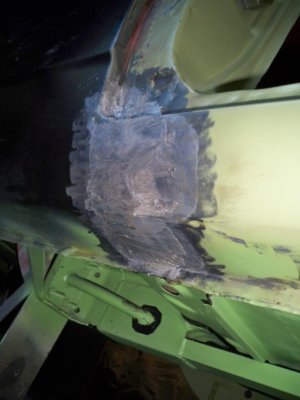
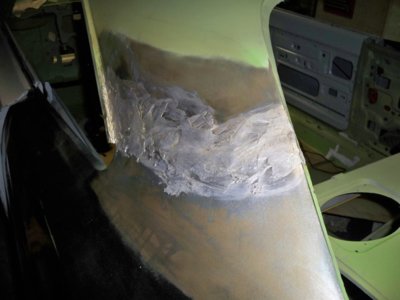
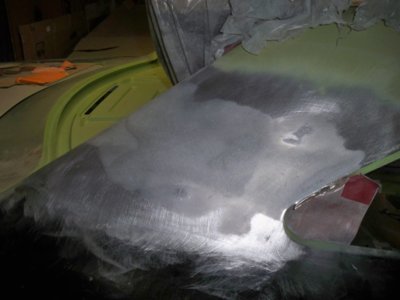
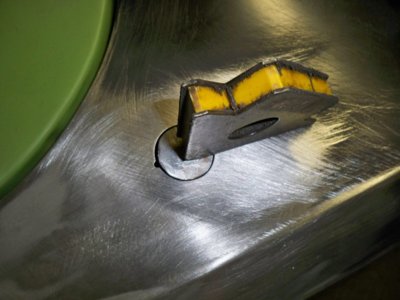
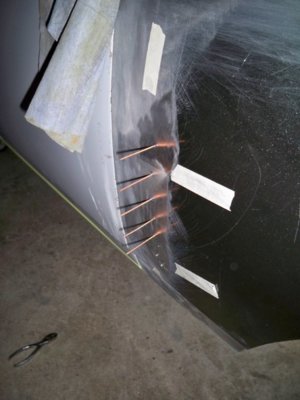
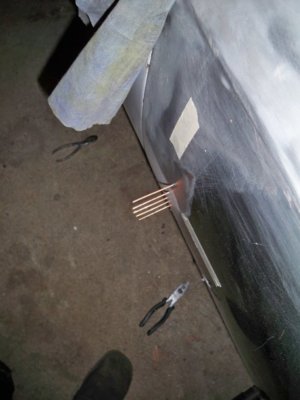
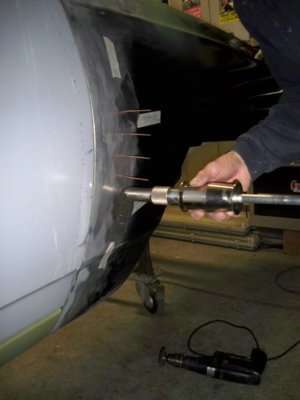
Also some metal work on that fender:

100_5494.JPG

100_5500.JPG

100_5501.JPG

100_5502.JPG
 

Sixtynine_Bird

Well-Known Member
Joined
Nov 30, 2014
Messages
654
Reaction score
125
Location
France
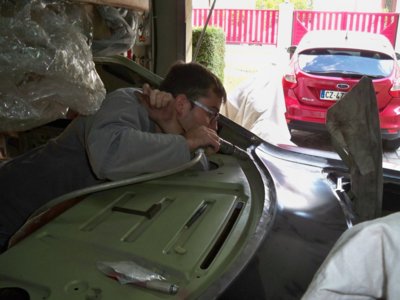
Didn't took a lot of pics on the cleaning process with the windows and the lock systems in the doors here are a couple of them:
Before and after

100_5510.JPG

100_5514.JPG
 
Back
Top