• When you click on links to various merchants on this site and make a purchase, this can result in this site earning a commission. Affiliate programs and affiliations include, but are not limited to, the eBay Partner Network.

No more Road for the Runner!

Basketcase

Keeper of the Green
Joined
Sep 10, 2008
Messages
14,415
Reaction score
299
naw..read about it on the internet so it must be true.
 

Sixtynine_Bird

Well-Known Member
Joined
Nov 30, 2014
Messages
654
Reaction score
125
Location
France
a bit more :)

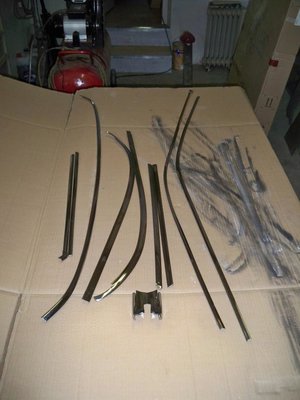
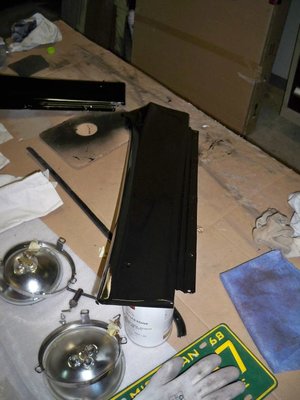
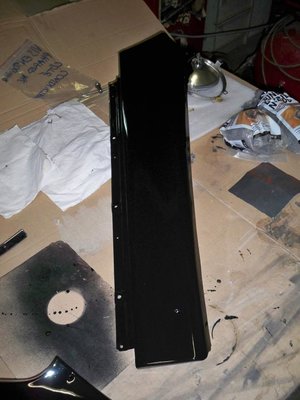
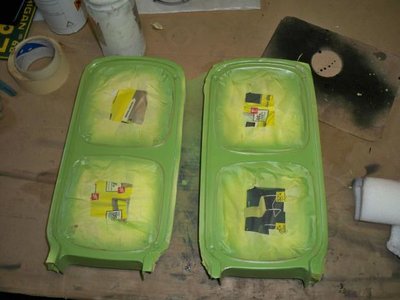
some of interior parts, headlight bezel, trim, door step etc

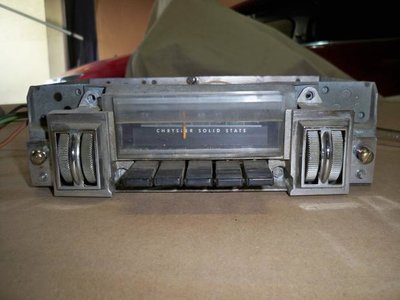
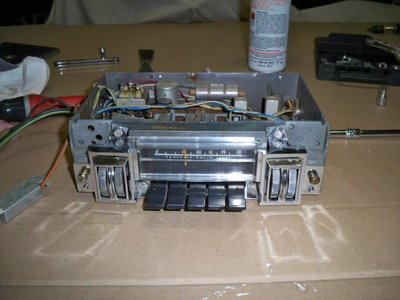
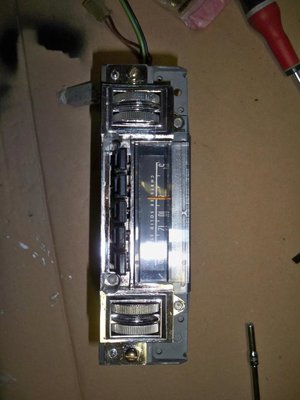
Radio before and after:
100_5229.jpg
100_5231.jpg
100_5230.jpg

Trim only after i polished them:
100_5259.jpg

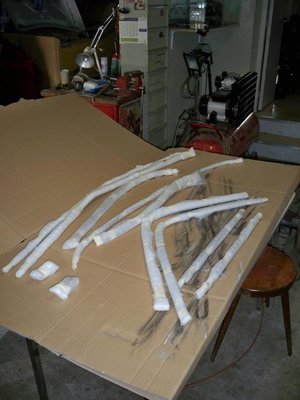
then wrap them
100_5270.jpg

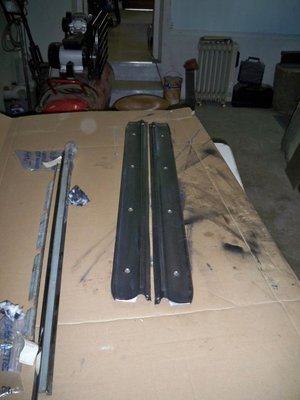
Door step
100_5273.jpg

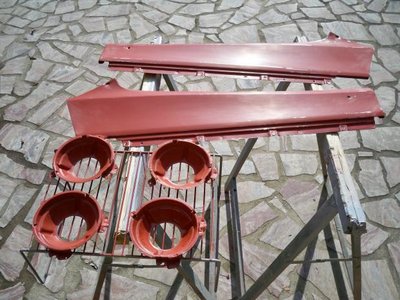
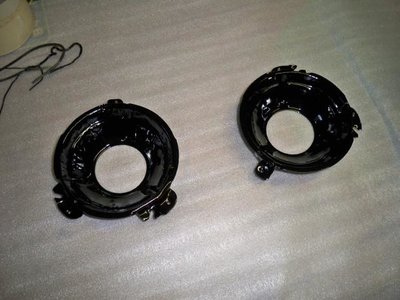
I don't know how you call these but you will recognise it and the things where goes the headlights before and after:
100_5277.jpg
100_5278.jpg
100_5280.jpg
100_5290.jpg

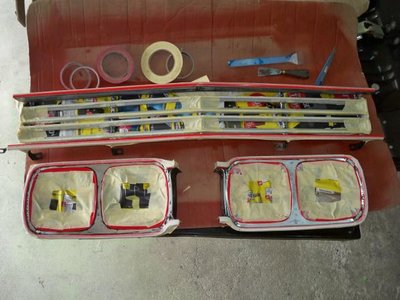
headlight bezel and front grill (sorry i don't have them when they're done i forget to take pics but here is the idea) we did primer and then apply a flat black on it :
100_5285.jpg
100_5287.jpg

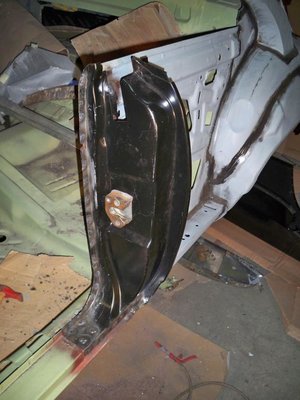
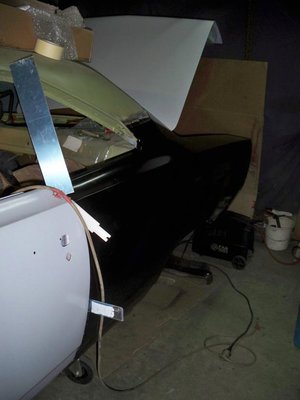
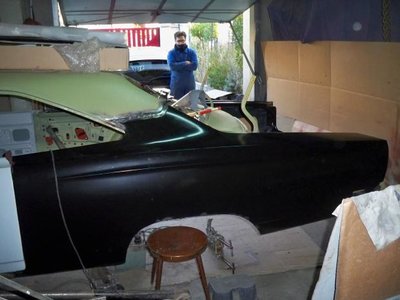
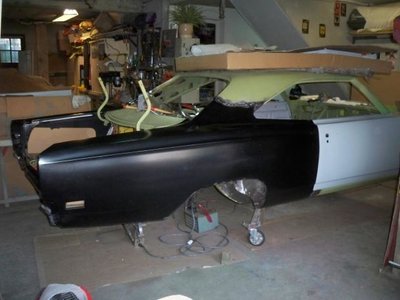
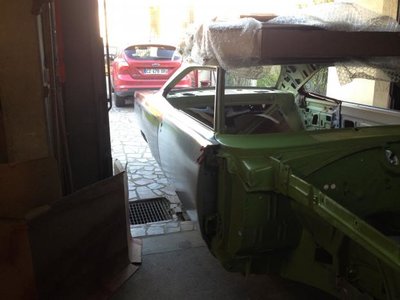
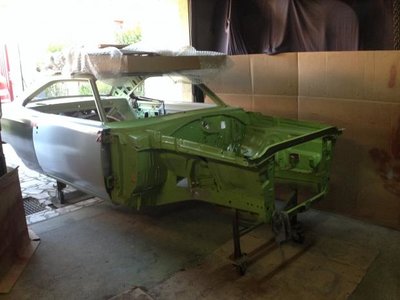
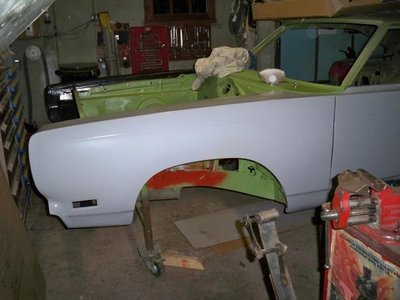
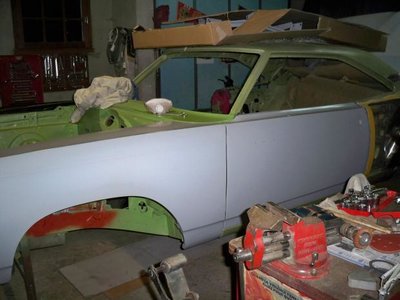
We aligned front fenders with doors and doors with the old quarters before remove quarters and weld new one:
100_5321.jpg
100_5322.jpg

some repairing in the back
100_5334.jpg
100_5336.jpg

I sand the window mechanism primed it put grease and then replace it on the car before instamming the new quarter :
100_5337.jpg

That's it for now. This is where we are at this time. Today i finished to clean up the other side window mechanism and apply a rust treatment inside the passenger door before prim it. i have to do the same for the other side. :)
Voilà ;)

100_5229.jpg

100_5231.jpg

100_5230.jpg

100_5259.jpg

100_5270.jpg

100_5273.jpg

100_5277.jpg

100_5278.jpg

100_5280.jpg

100_5290.jpg

100_5285.jpg

100_5287.jpg

100_5321.jpg

100_5322.jpg

100_5334.jpg

100_5336.jpg

100_5337.jpg
 

Sixtynine_Bird

Well-Known Member
Joined
Nov 30, 2014
Messages
654
Reaction score
125
Location
France
Hello folks! so a quick update of the progress.
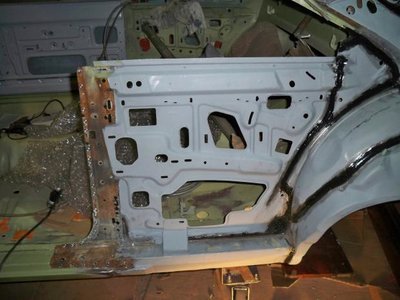
Driver side we had to change the door jamb that is now done.
We drilled every hole we had to drill in the quarters. We did adjust the passenger side quarter and clamped it. Thus we welded the trunk floor extension to the trunk floor. That is where we are so far.
So tonight we have to make a few spot weld on the quarter then finish to weld the trunk floor extension and if we have time left we'll start adjusting the driver side quarter :)

See you soon! some pics will come at the end of the week or next week!
 

Sixtynine_Bird

Well-Known Member
Joined
Nov 30, 2014
Messages
654
Reaction score
125
Location
France
e

Any updates?

oups! Yeah a "lot" of progress I have to put some pics this week! I'm back from 2 weeks of school and 1 of holidays and I'm here for 2 weeks in my company so I have the time to work on the bird and I have to put some pics!
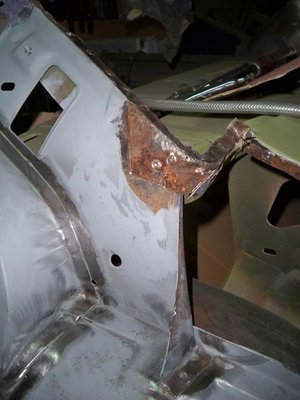
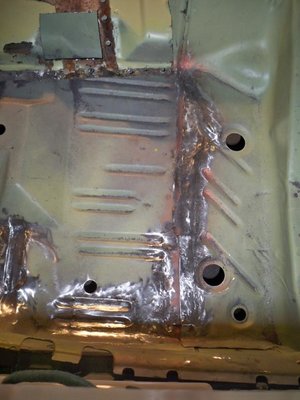
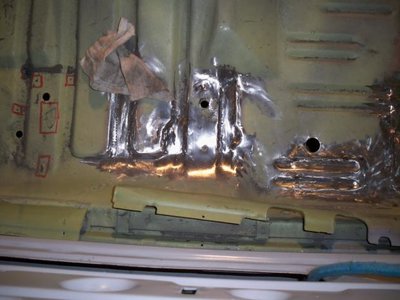
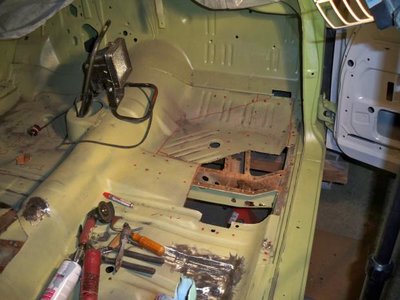
The rear end is now finished, and we started to patch the floors! We got a lot of repairs to do, and have to replace the front section of the floors, the one that goes from the firewall to the front holes for the bench or seats attachment.

Pics will follow :)
 

Russ69Runner

Well-Known Member
Joined
Aug 4, 2016
Messages
7,787
Reaction score
3,337
Location
Lake Wales Fl.
And I though mine had problem's. Doing about the same thing's to mine. Floor pan's looked good till I started poking at the rust darn. I feel you my brother my rear quarter's were half sheeted sloppy job and lot of trunk work. Replacing driver side front fender upper and lower cowl . Hinge pillar Inner cowl ok that's enough. Yea let's see pic's as you progress. Catch you latter.:nopity:
 

Sixtynine_Bird

Well-Known Member
Joined
Nov 30, 2014
Messages
654
Reaction score
125
Location
France
I got lucky that the cowl were in good shape! I really didn't to deal with that! yeah till I started poking at the rust too ^^ I guess we should have let all that rust in place lol! once you think of it, it is a nice touch lol just kidding.

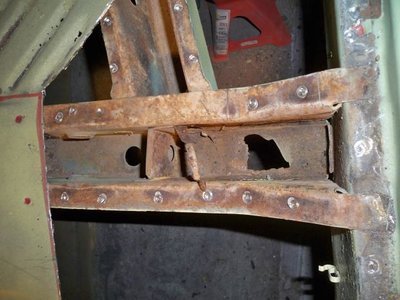
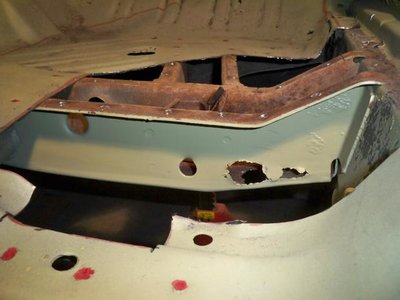
We got a lot to go with the torsion bar crossmember, it is pretty rusty so yesterday we cut out a piece of it, clean inside the crossmember and tonight we are going to start forming a new sheet of metal for replacement.
 

Sixtynine_Bird

Well-Known Member
Joined
Nov 30, 2014
Messages
654
Reaction score
125
Location
France
those are available premade from several sources

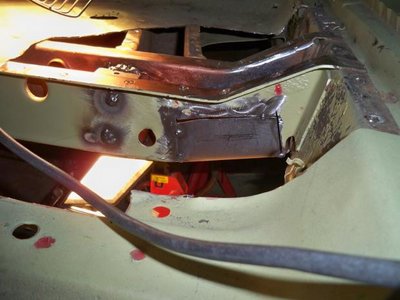
Yep, saw it on AMD website, but don't need a full replacement, only the section between the front frame rail and the rocker is in bad shape (passenger side) so we just cut out this section remove the reinforcement piece in the crossmember, made a new one that I will probably weld this evening, and need to continue the adjustment of the sheet metal piece.

Thank you for the tip quikbird :)
 

Sixtynine_Bird

Well-Known Member
Joined
Nov 30, 2014
Messages
654
Reaction score
125
Location
France
Here comes the pics again! Sounds like a song I bet you all know! Anyway... So!

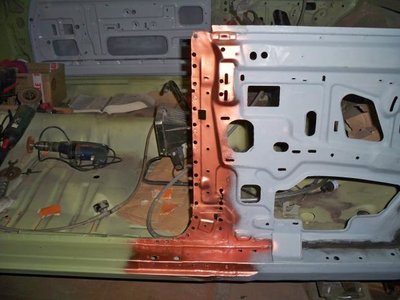
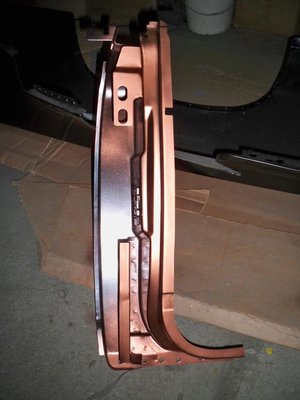
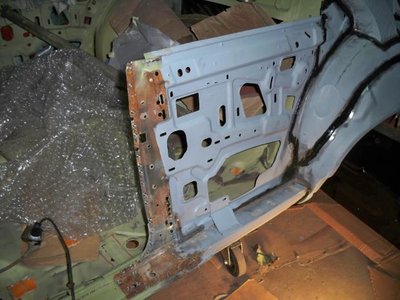
The drivers side door jamb is now on, we sprayed (as always) some copper on the welding areas before the installation:
100_5339.jpg
100_5340.jpg
100_5341.jpg
100_5343.jpg

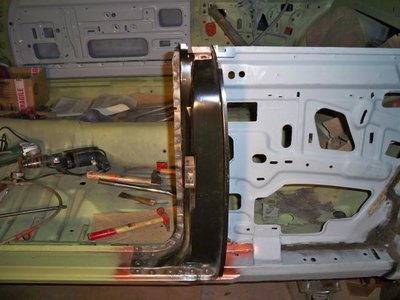
Now weld in place:
100_5344.jpg
100_5345.jpg

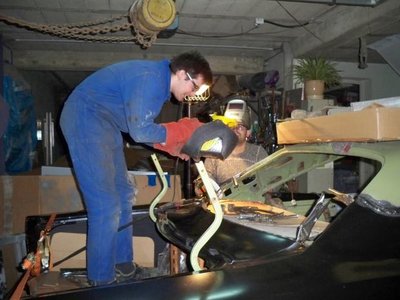
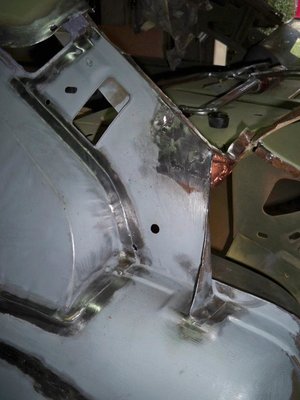
Then we mock up the assembly with the quarters using clamps to watch every gap or any fitment issues, and we got a lot of trouble on the LH side! The right side was pretty "easy" to do, didn't have much trouble to make it fit right, but the left quarter there was no way we could put it in and make it fit with the door! When it was in place the door wouldn't shut, it was hitting the quarter every time! So finally, we put some wedges (I guess it is the right word), shut the door put the LH quarter in place and locked the gap with the wedges! And finally we welded the quarter like that, and it turned out pretty good with a nice gap and a nice fitment :) :

100_5348.jpg
100_5357.jpg
100_5360.jpg
IMG_6302.jpg
IMG_6303.jpg

Once the quarters were welded it was time to deal with the Dutchman panel! We found an article on hotrod magazine with a welded process showing step by step how to weld it. So we followed there advices and the new one went in pretty easy! :) we were happy about that! :
100_5361.jpg
100_5362.jpg
100_5346.jpg
100_5363.jpg
100_5364.jpg

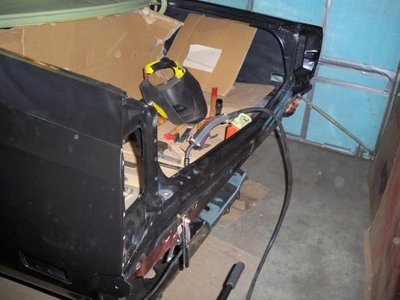
The tail light lenses are in also with the corner gutter, and once the Dutchman were in place we finally installed the gutters :
100_5349.jpg
100_5353.jpg

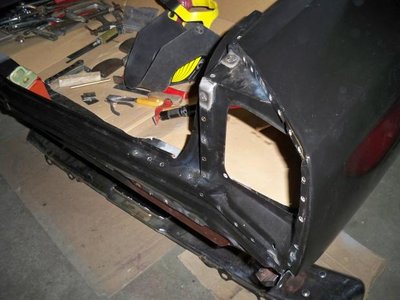
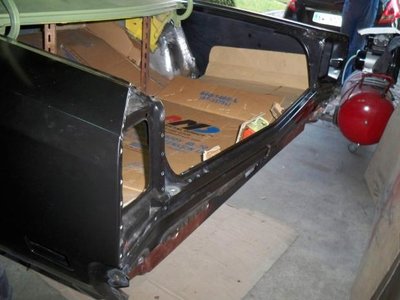
We also put in the taillight mount, on this part we had to do some cuttings to make it fit properly (especially on the extremity) :
100_5358.jpg
100_5350.jpg

100_5339.jpg

100_5340.jpg

100_5341.jpg

100_5343.jpg

100_5344.jpg

100_5345.jpg

100_5348.jpg

100_5357.jpg

100_5360.jpg

IMG_6302.jpg

IMG_6303.jpg

100_5361.jpg

100_5362.jpg

100_5346.jpg

100_5363.jpg

100_5364.jpg

100_5349.jpg

100_5353.jpg

100_5358.jpg

100_5350.jpg
 

Sixtynine_Bird

Well-Known Member
Joined
Nov 30, 2014
Messages
654
Reaction score
125
Location
France
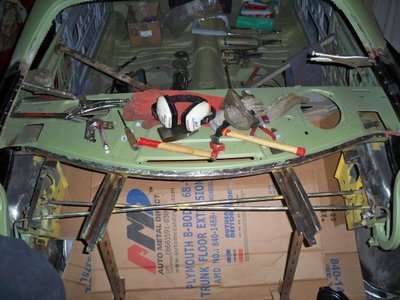
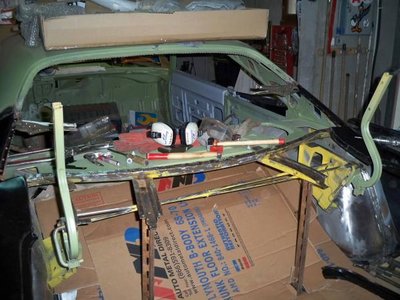
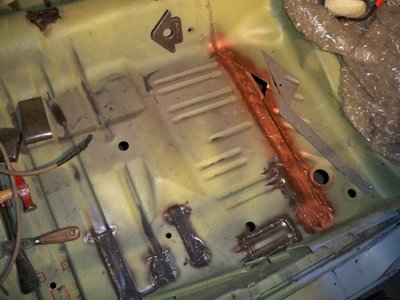
So far so good! lol Now the rear is done and everything grind we move into the car and began to patch the floors and torsion bar crossmember. Fro Christmas I bought my dad the inner fender brace from us car tool. So once the floors are done we are going to weld those, now that the car is standing on jack stand to prevent any torsion of the chassis:

Passenger side:
IMG_6311[1].jpg
IMG_6327[2].jpg
IMG_6328[1].jpg
100_5368.jpg

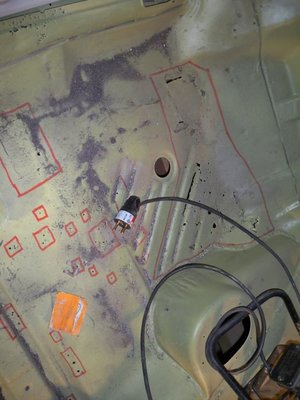
Driver side, where you see all the pin holes circle in red this the section that we are going to replace, the one I'm talking about :
100_5367.jpg
100_5372.jpg
100_5374.jpg
100_5373.jpg

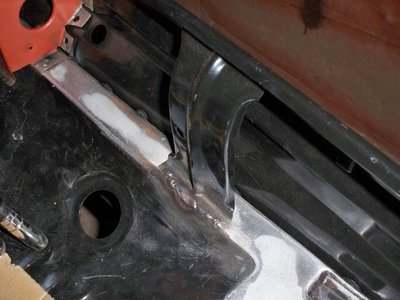
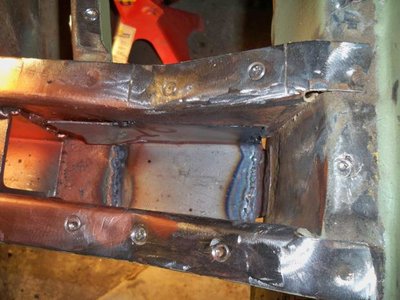
And we started the crossmember repairs, see the reinforcement is totally worn out, so take it off and made a new one with 4mm (width) metal piece :
100_5369.jpg
100_5370.jpg
100_5371.jpg

I forgot to take a pic of the cutout section before tack the new piece we made but you'll get the point :
100_5375.jpg
100_5376.jpg

So that's pretty much it for now, tonight I'm going to finish the welding process on the crosmember and will start to drill the welding spots on the floor so I can remove it and put the new one in place and start the fitting process.

IMG_6311[1].jpg

IMG_6327[2].jpg

IMG_6328[1].jpg

100_5368.jpg

100_5367.jpg

100_5372.jpg

100_5374.jpg

100_5373.jpg

100_5369.jpg

100_5370.jpg

100_5371.jpg

100_5375.jpg

100_5376.jpg
 

69hemibeep

Sponge Bob Square Wheels
Joined
Sep 10, 2008
Messages
22,217
Reaction score
2,457
Location
AZ Desert,
You do know you can build a road runner with new parts from AMD and buy a deck lid LOL. That has been allot of work!
 
Back
Top