You are using an out of date browser. It may not display this or other websites correctly.
You should upgrade or use an alternative browser.
You should upgrade or use an alternative browser.
No more Road for the Runner!
- Thread starter Sixtynine_Bird
- Start date
Russ69Runner
Well-Known Member
Looking good. Very nice. Won't be long have the key in it and driving. 

quikbird
Well-Known Member
two possible causes for issues you are having. steering column connector is wired wrong. bulkhead connector wired wrong, not enough voltage through system. some things don't work right unless there is enough juice present. I normally use a 12-15 amp battery charger to power system until most of it is working correctly rather than full battery power.
Sixtynine_Bird
Well-Known Member
Thank you Russ ;)
Thanks Quikbird, that is good to know! I will check the steering column connector tonight and the bulkhead too and see if I can find something.
Ok thanks for the tip too.
two possible causes for issues you are having. steering column connector is wired wrong. bulkhead connector wired wrong, not enough voltage through system. some things don't work right unless there is enough juice present. I normally use a 12-15 amp battery charger to power system until most of it is working correctly rather than full battery power.
Thanks Quikbird, that is good to know! I will check the steering column connector tonight and the bulkhead too and see if I can find something.
Ok thanks for the tip too.
Sixtynine_Bird
Well-Known Member
Hello guys, after 6 months a lot has changed on my bird,
Was chatting with Russ yesterday, and he was like oh you have to put some pics and give some news to us guys! So I think this is time to give you some news! It has been a long time since I have been on line on that forum.
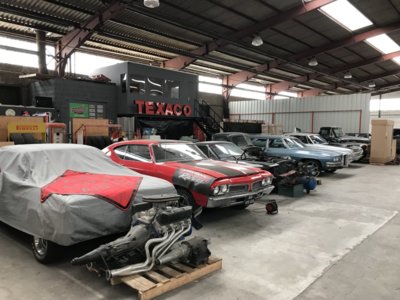
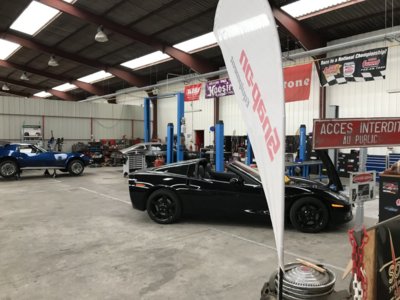
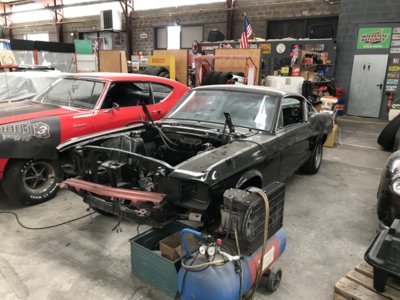
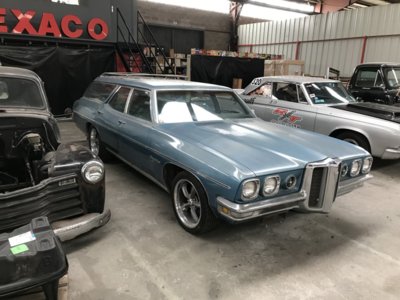
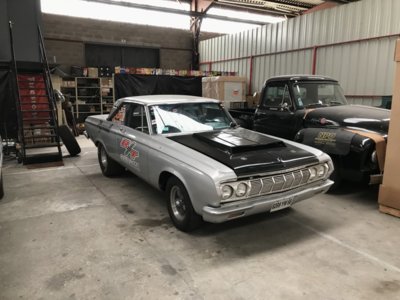
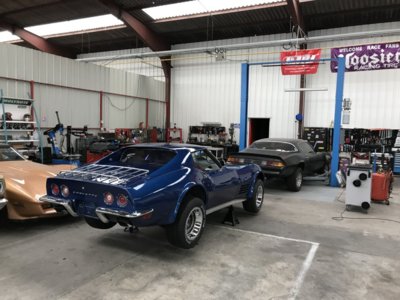
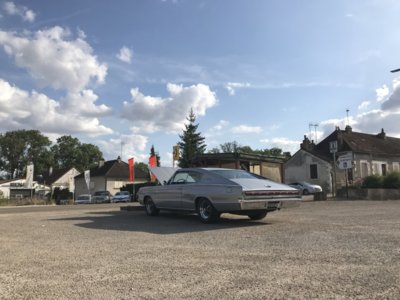
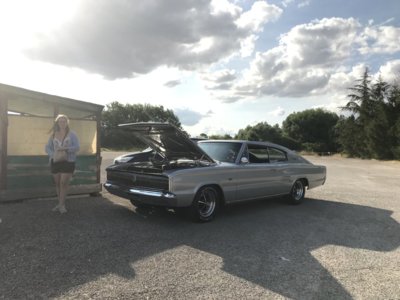
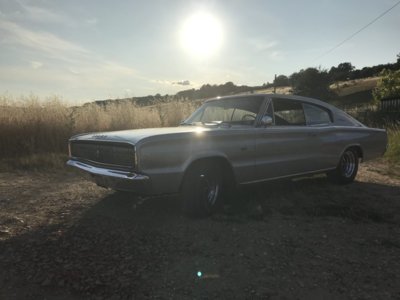
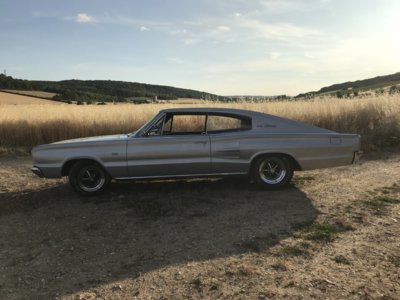
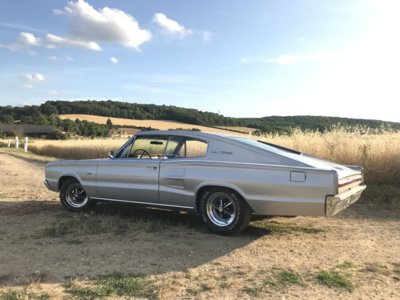
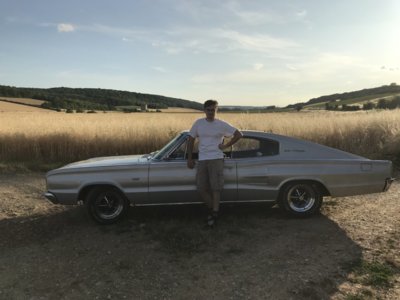
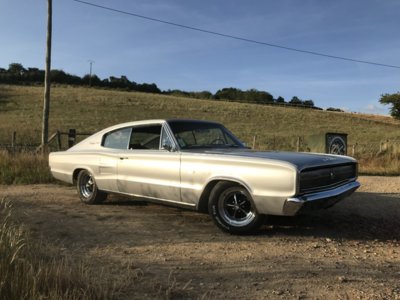
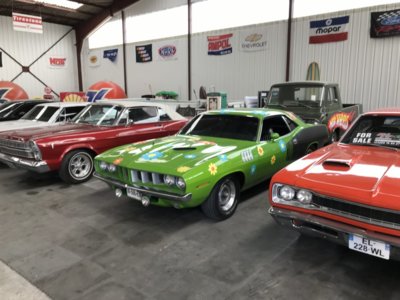
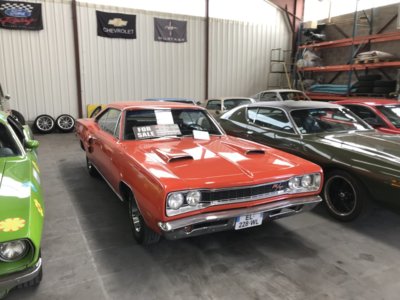
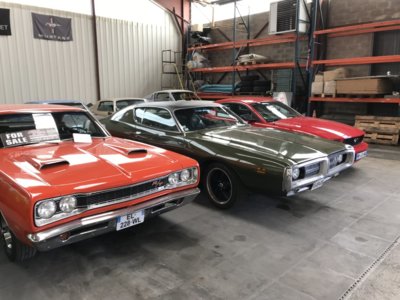
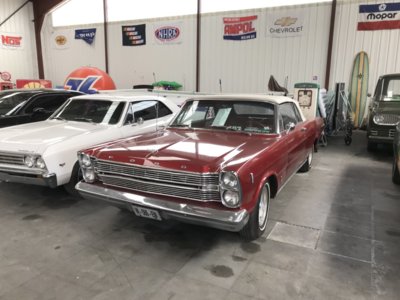
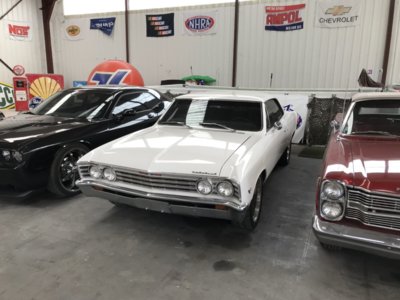
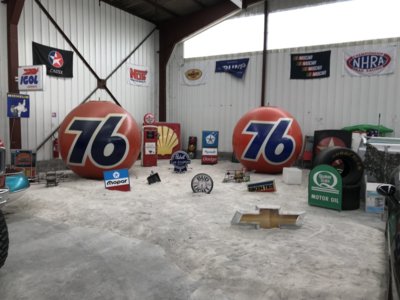
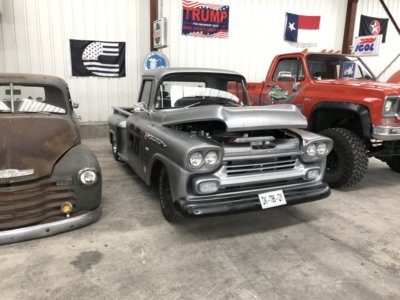
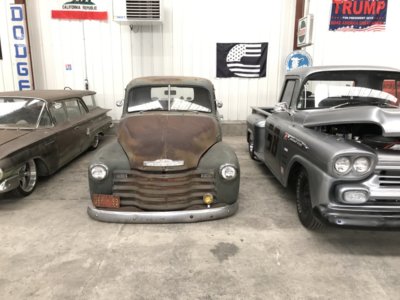
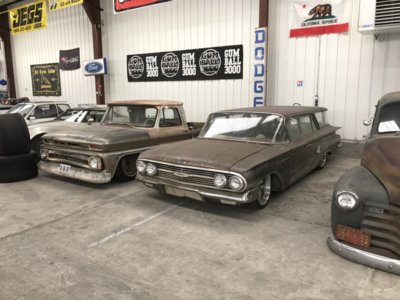
First I will start with the Charger, I just take the Charger for a 4 days vacation and did 900 miles with it doing the wine road and going to see a french american garage specialized in Mopar's yes I found a garage specialized in Mopar here in France I couldn't believed it myself lol and the owner of it is a woman who is drag racing with a 64 Belvedere II 496 stoker 700hp and and backed up buy a 727 trans. The rear end is 8 3/4 with 4.10 sure grip in it. She runs in the low 11"s to the 1/4 mile. the car is stock only the engine is modified and probably the trans but I did'nt asked her about the trans.
I went to see her to talk about the Roadrunner engine and see if she can do it or no, so we have to call her in the mid of September to get an appointment with and see when she wants us t bring her the engine.
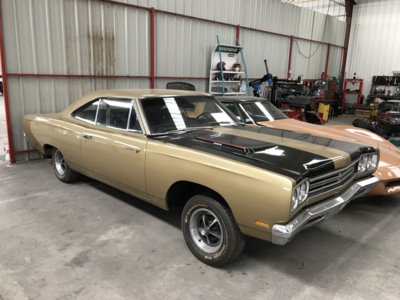
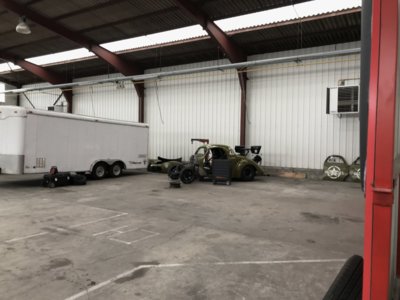
Here are a couple of pics of the holidays and the garage :


Sixtynine_Bird
Well-Known Member
Sixtynine_Bird
Well-Known Member
Sixtynine_Bird
Well-Known Member
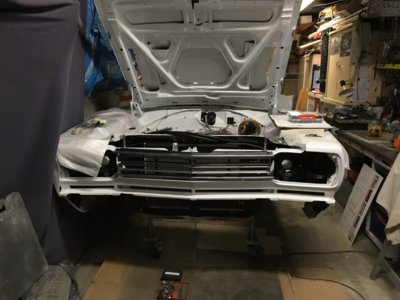
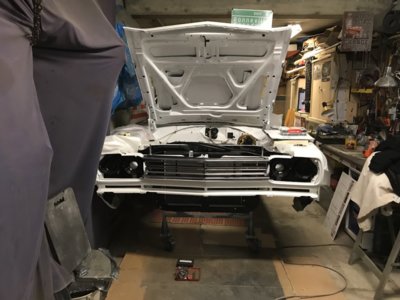
So now what about the Roadrunner...
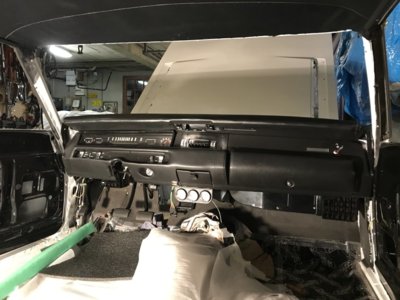
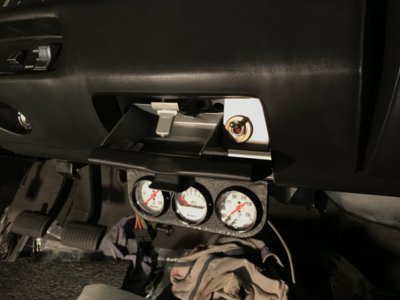
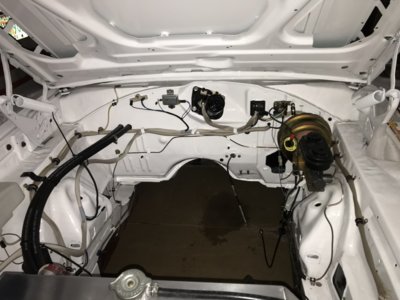
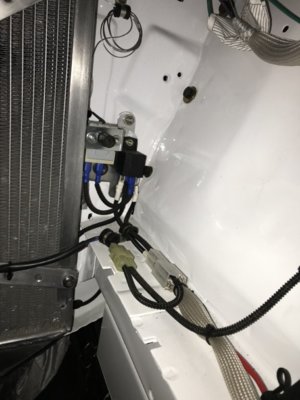
So a lot has been done where do I start? :
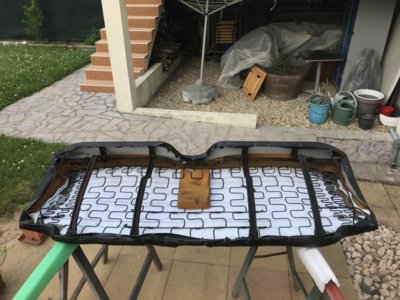
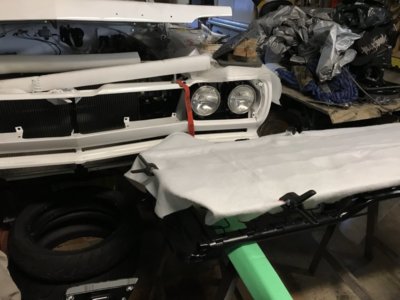
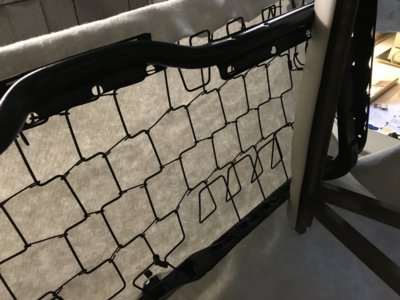
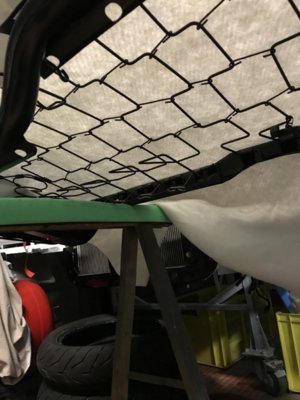
- Bench seats :
Front one, has been tore down completely
Sanded the shell
primed it then painted in black
Bought some new foam
rebuild it and reassembled it
Put back the upholstery on it as it was new when we bought it
strengthened the spring on the shell to get a firm sat
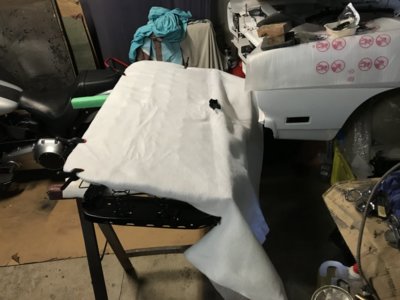
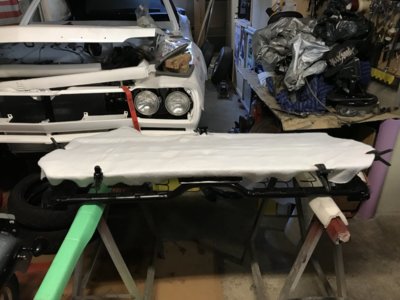
Same operation for the rear bench seats
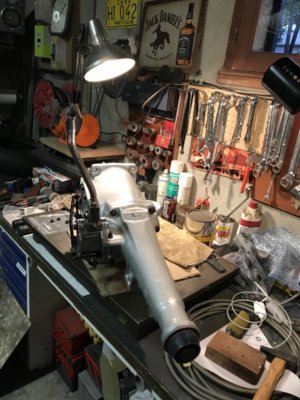
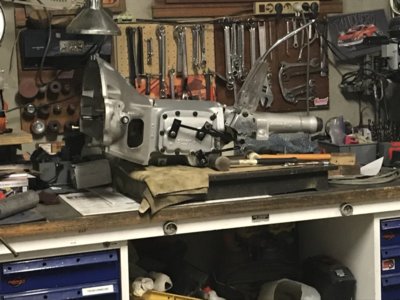
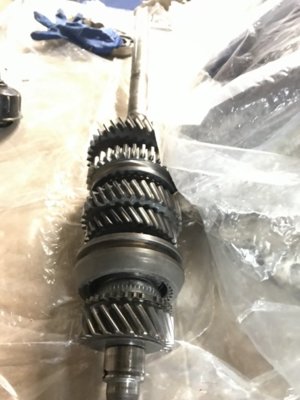
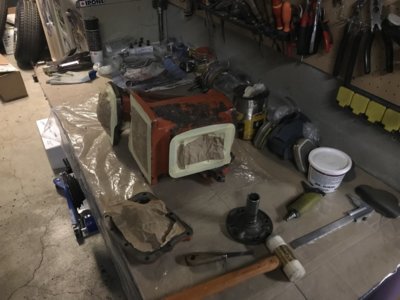
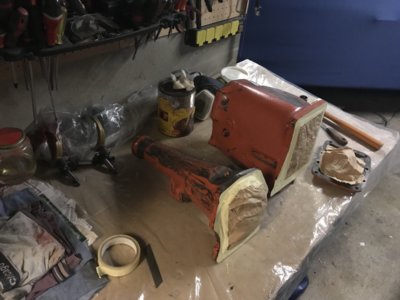
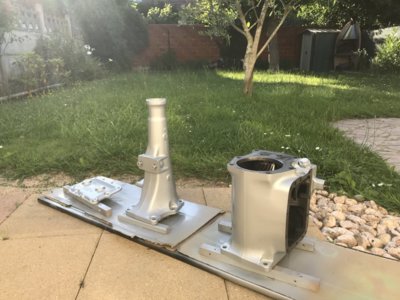
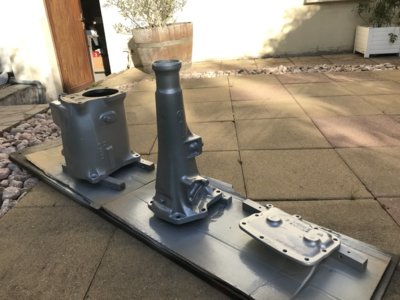
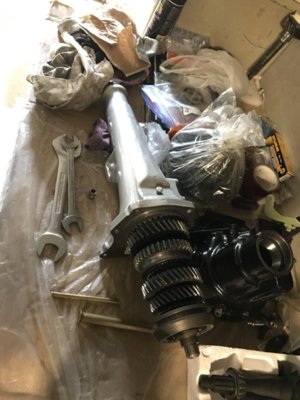
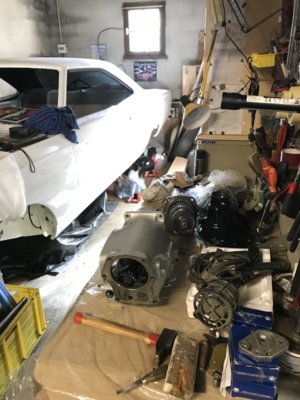
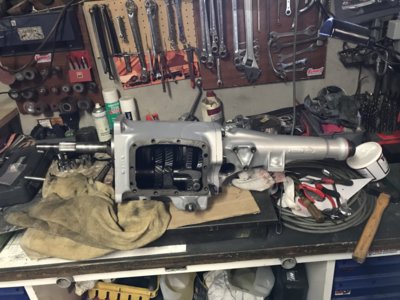
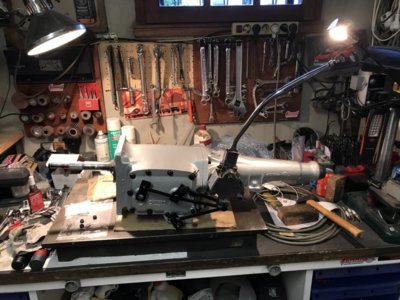
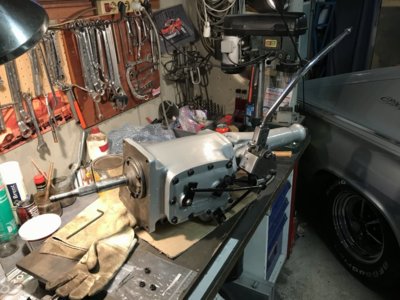
- Transmission :
Disassembled (except for the countershaft end play was good and rotated freely)
removed all the gears from the shaft
Changed the bearing as well as the needle bearing in the input shaft
Every single seal has been changed on the levers and so on
Sanded to bare metal the case and the tail
Epoxy primed it
Painted it with metallic grey then clear coated
Fully reassembled
The shifter mechanism is back on and adjusted properly (I presume lol)
Installed the bellhousing too
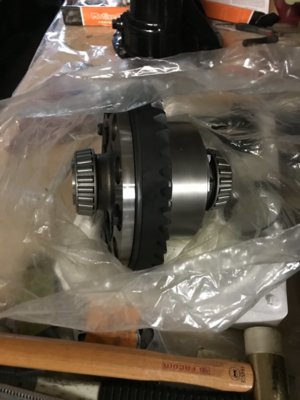
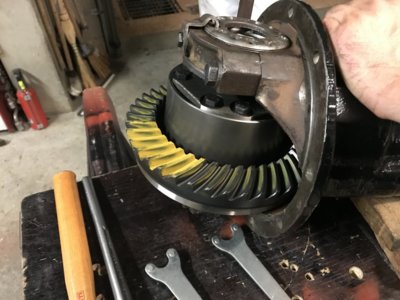
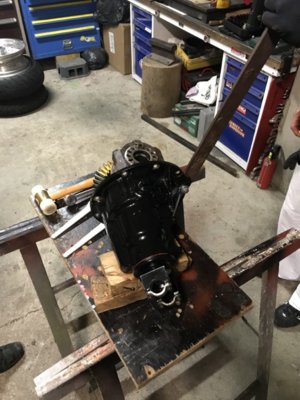
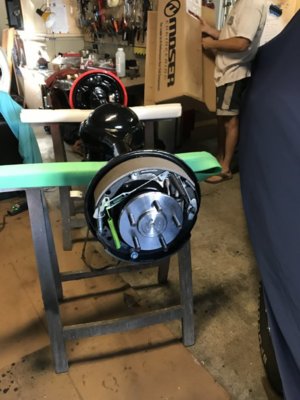
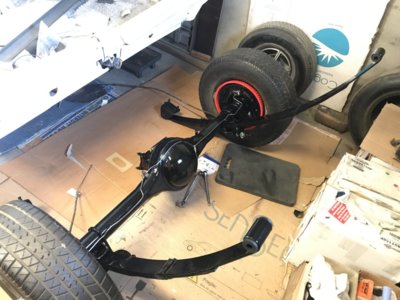
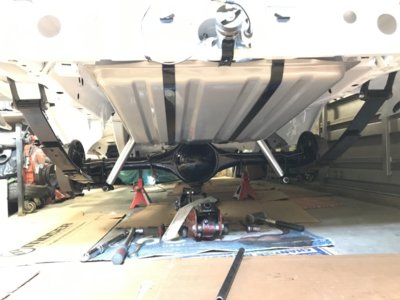
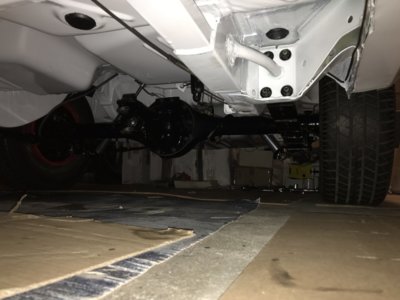
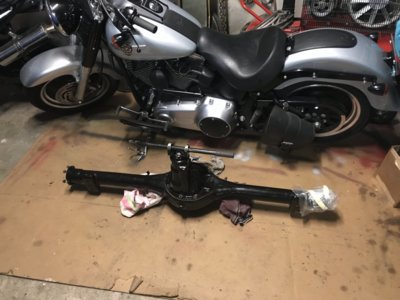
- Rear end :
Bought everything new except for the main case and third member.
Every internal parts are new
New tapered Timken bearings
New axle shafts from Moser
New axles, flange, plate, carrier seals
New ring gear and pinion from Richmond : it's a 3.73 ratio
New Eaton truetrac
Assembly of the third member is finally done with a good centered pattern on the ring gear tooth
Back lash is set good too between the tolerance of the service manual
With the third member installed we installed the axle shafts in
Set the end play between the tolerance of the service manual too
Rotates freely
- The car :
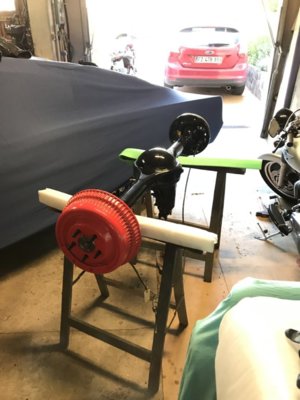
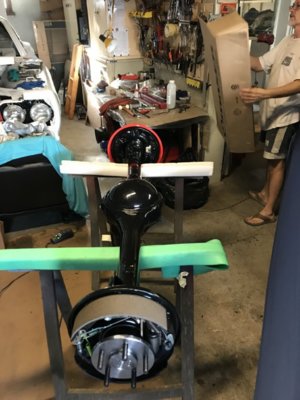
Put back the leaf springs on the rear end
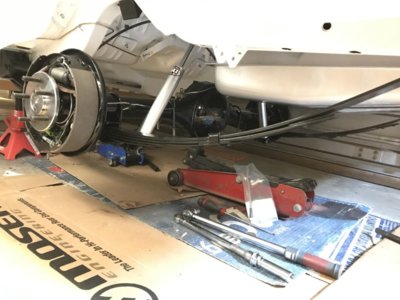
installed the rear end on the car
Suspension attached to the rear end
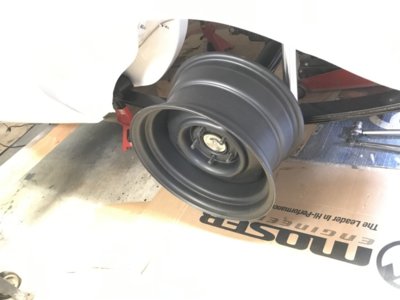
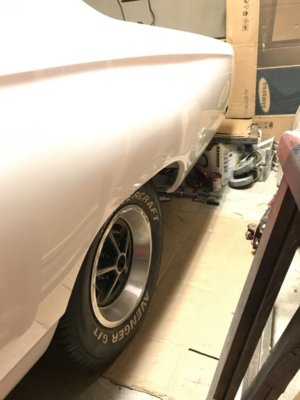
Put back the drums & the old wheels
The old wheels will stay on the car till we finish it completely
Once it's one will put the new rims on it! can't wait to see that
Finally the car is back on the rear wheels after 4 years!! What an emotion to see her on the rear wheels yesterday night!
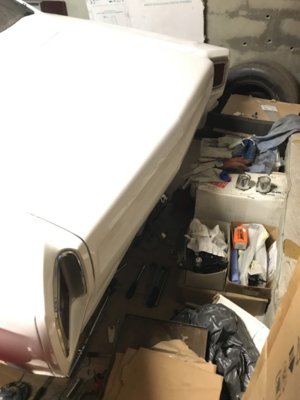
With that done, we can send her to the paint shop for the final stage, which is the flat black hood stripes and the clear coat on the rest of the car.
Then once the car returns from the paint shop, we can start the reassembly process.
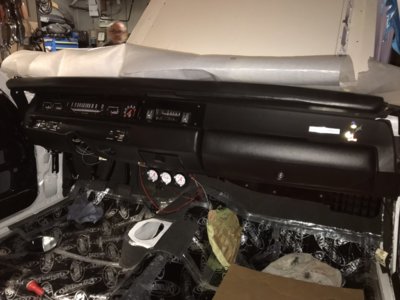
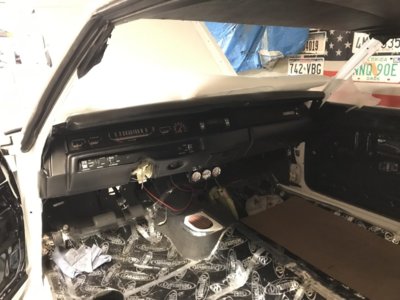
Now lets see some pics :


Sixtynine_Bird
Well-Known Member
Sixtynine_Bird
Well-Known Member
Sixtynine_Bird
Well-Known Member
Sixtynine_Bird
Well-Known Member
Basketcase
Keeper of the Green
- Joined
- Sep 10, 2008
- Messages
- 14,415
- Reaction score
- 300
lots of progress, and great pics of the Charger.
Russ69Runner
Well-Known Member
Man I got chills looking at all those old restored car's. Thanks for the lay out of the runner progress. It is really coming along. Think you missed your calling need to start you own magazine over their On the trip from grave to restored old muscle cars. Hope you guys are having fun doing your project. That is what is part of the restore process. Yea but some times it is frustrating believe me. Just to ask I see the head liner in the Runner did you put any insulation on the inside of the roof and if you did what did you use. I am torn on what to do their. I have bed lined the roof before putting it on the car. Afraid to use hush mat or something else think the glue that holds the insulation might let go and let it come down. Remember many an old car that the insulation did that and had a big bulge. One friend of mine had to push his up to get into the car and was always hitting his head what a bummer. Think it was Camaro if I remember rite. Good work guy's and can't wait to see Pop's sitting in the driver seat. Russ. 


 Then we can have a celebration and have a few cold one and say cheer's.


 Then we can have a celebration and have a few cold one and say cheer's.


quikbird
Well-Known Member
Nice to see more progress. I had been kind of wondering what happened to you. Glad to see you have been getting some things done as well as driving that charger.
Sixtynine_Bird
Well-Known Member
Man I got chills looking at all those old restored car's. Thanks for the lay out of the runner progress. It is really coming along. Think you missed your calling need to start you own magazine over their On the trip from grave to restored old muscle cars. Hope you guys are having fun doing your project. That is what is part of the restore process. Yea but some times it is frustrating believe me. Just to ask I see the head liner in the Runner did you put any insulation on the inside of the roof and if you did what did you use. I am torn on what to do their. I have bed lined the roof before putting it on the car. Afraid to use hush mat or something else think the glue that holds the insulation might let go and let it come down. Remember many an old car that the insulation did that and had a big bulge. One friend of mine had to push his up to get into the car and was always hitting his head what a bummer. Think it was Camaro if I remember rite. Good work guy's and can't wait to see Pop's sitting in the driver seat. Russ.
Then we can have a celebration and have a few cold one and say cheer's.

Thanks Russ, lol maybe we should indeed why that could be funny to start a magazine about that actually.
For the roof I will be honest I am a little worried about what you say with the insulation ungluing and fall apart on the headliner. But we did put some on the roof. We put some sound deadener from dynamat, then on top of it some heat insulator also from dynamat. We did the same on the firewall sound deadener and then heat insulator on top of it. And on the floor pans we only put the sound deadener.
The sound deadener is very sticky it is not glue it is like rubber or something like that and once applied you can’t get if off, I mean it is really hard to pull off so that makes fill confident. On the other hand on the heat insulator this is glue, but once again made a test, once it is glued you can’t get it of either, the material is ripped appart if you do so. Once again made me confident, I hope it won’t come off fingers crossed lol
Sixtynine_Bird
Well-Known Member
And yes we have a great time doing that restoration even if as you mention sometimes there are some moments of discouragement and times that you want to give, but we have to hold on to it so one day we will be able to drive it again. But having the Charger is a great motivation, because there was a laps time when we didn’t have any American cars while doing the bird, so it was really hard and discouraging, because we were missing that v8 sound and the feeling of driving one, and seeing the bird state was a real pain lol
But now that we can enjoy the Charger it is easier. I don’t know if you see what I mean lol if it is clear
But now that we can enjoy the Charger it is easier. I don’t know if you see what I mean lol if it is clear
Sixtynine_Bird
Well-Known Member
Thanks Quikbird, don’t worry I am still and still working on the bird ;)
Can’t wait to have her finished!
Still a few months to go before! We hope that in less than a year we would have finish it!
Can’t wait to have her finished!
Still a few months to go before! We hope that in less than a year we would have finish it!
Russ69Runner
Well-Known Member
Thank you for the info on the sticky stuff for the heat and sound mat. Thing is I put bed liner on the roof before putting it on. Their is rubber in the bed liner tape dose not want to stick to it. So I am going to go to eastwood and get the X mat that is heat and sound resistant and put it in between the roof rails and figure that will be enough. Might put some in the floor board from front to back but it also is bed lined on bottom and on top don't think I need any thing else but will put the X mat in. Good to here from you and love the pic's. OO-LA-LA. 

Sixtynine_Bird
Well-Known Member
Sounds like a plan 


