• When you click on links to various merchants on this site and make a purchase, this can result in this site earning a commission. Affiliate programs and affiliations include, but are not limited to, the eBay Partner Network.

MA MOPAR BIT ME AGAIN or SO MANY MOPARS, SO LITTLE TIME

1967 'cuda

Well-Known Member
Joined
Mar 6, 2014
Messages
794
Reaction score
0
Location
David City, Nebraska
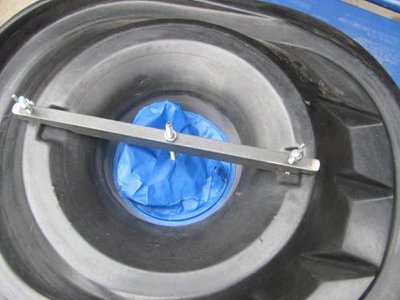
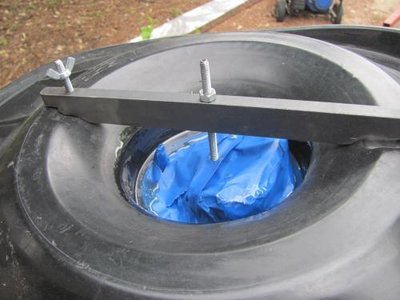
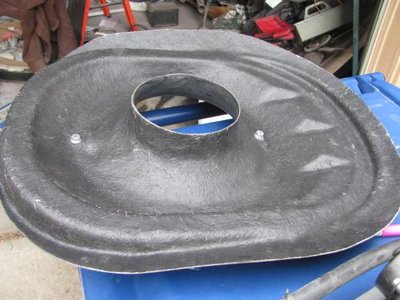
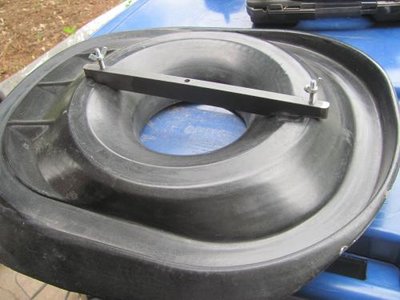
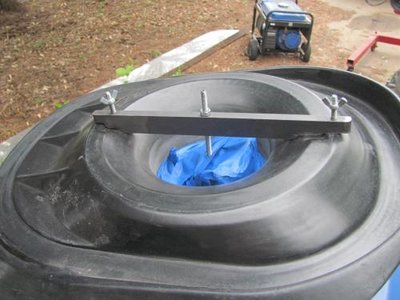
The air grabber style air cleaner I'd bought was a reproduction with a fiberglass base. There was no mounting bracket to attach the base to the carb or lid to the base. No problem, I made my own bracket out of a bar of mild steel.
IMG_0592.jpgIMG_0593.jpg

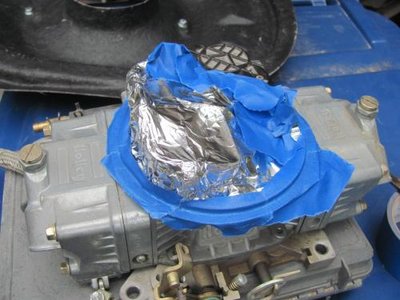
The next issue was that the hole for the carb was too big. To overcome that, I masked the top of a Holley off with a combination of tin foil and masking tape. I used the tin foil to act as a filler for the openings in the carb. - It acted as a form-able surface that my tape could stick to. I used 80 grit sandpaper to roughen the gel coat on the base and give me an adherable surface.
IMG_0590.jpgIMG_0594.jpgIMG_0595.jpg

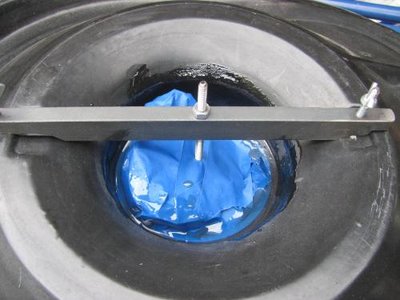
After masking the carb I mixed up a couple ounces of resin to build up the area that needed it.
IMG_0596.jpgIMG_0598.jpg


IMG_0592.jpg

IMG_0593.jpg

IMG_0590.jpg

IMG_0594.jpg

IMG_0595.jpg

IMG_0596.jpg

IMG_0598.jpg
 

1967 'cuda

Well-Known Member
Joined
Mar 6, 2014
Messages
794
Reaction score
0
Location
David City, Nebraska
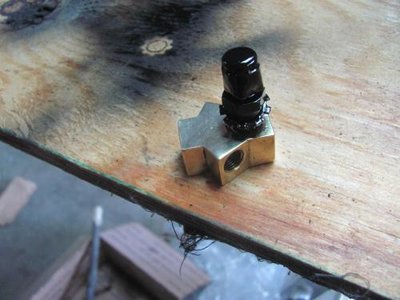
All of you guys that have rebuilt your cars know that there's a seemingly endless number of parts involved. Even though I've tried to post a lot of pictures on this thread, I haven't shown more than a small fraction of the work involved. When I went to find the vented bolt that holds the brake line's brass T-block on the rear end housing I couldn't find it anywhere in this mess I call a garage. Luckily I have access to a parts source 15 miles away. The replacement vent bolt was rusty. After wire brushing it clean I painted it black.

IMG_0605.jpg

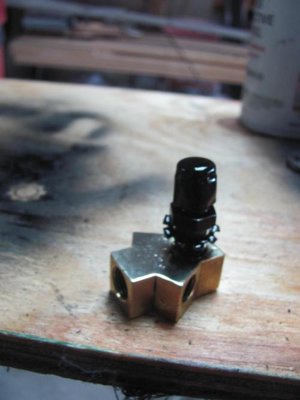
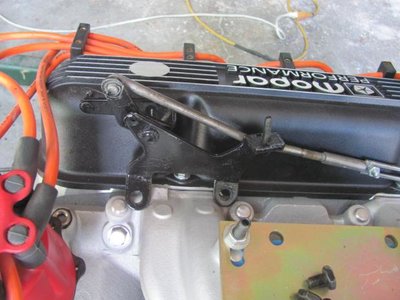
The brass T-block was covered in dirt and old undercoating. After cleaning it, I buffed the brass back to a shine and will still be applying a clear coat to it.
IMG_0606.jpg

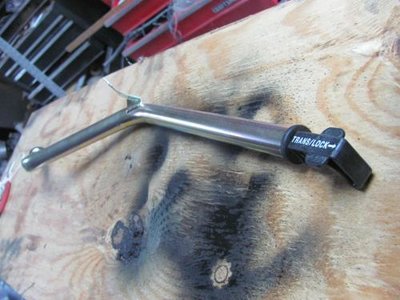
My 727 is pretty much ready to go into the car but I didn't have a dip stick for it. So, I had to purchase a new one.
IMG_0607.jpg

You can see how those dang small parts add up over time to a lot of work and expense.

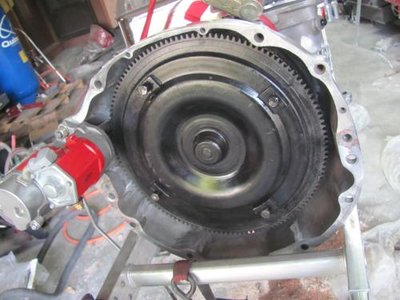
I had left my torque converter outside and it got rain in it. It took me almost a full day to clean it out. It had no drain and I could only get so much fluid to drain when I turned it upside down. I shook it. - And shook it. I used a vacuum cleaner to suck out what I could. I used compressed air to blow it out. I even used a space heater to try to evaporate what was left.
IMG_0608.jpg


IMG_0605.jpg

IMG_0606.jpg

IMG_0607.jpg

IMG_0608.jpg
 

1967 'cuda

Well-Known Member
Joined
Mar 6, 2014
Messages
794
Reaction score
0
Location
David City, Nebraska
I know enough to realize that I should buy a bunch of baggies before a dis-assembly and label everything as I go, but I never do. One thing that I have gotten better at is taking pictures of weird things that will be hard to put back together later. And as much as I love getting a hand from my son, it usually makes finding pieces more difficult.
 

1967 'cuda

Well-Known Member
Joined
Mar 6, 2014
Messages
794
Reaction score
0
Location
David City, Nebraska
When I measured everything out for tire clearance I was confident everything was going to fit perfectly when I put the car back together. I had the Dana made about an inch and a half narrower than my old 7&1/4" rear was. But after swapping rears I saw that things were way too tight. After examining the new quarter panels I realized that these replacements had a much wider lip on them around the wheel wells. So today I used a crescent wrench to start rolling the lip. After I got it as far as I could, I took a heavy hammer and rolled the edge a bit more. Everything's hunky-dory now!
 

1967 'cuda

Well-Known Member
Joined
Mar 6, 2014
Messages
794
Reaction score
0
Location
David City, Nebraska
I tried working on the brake lines last night. I had previously cut off the hard line where it ended in front of the axle assembly because I couldn't get it loose. I used a 3" air grinder to cut through the outer spring reinforcement and peeled it off a few inches from the end. When I tried to re-do the double flare end, the line broke behind my flaring tool so I'll have to try again today. I'm hoping the line isn't too brittle. There was surface rust that I cleaned off with emery cloth. If I don't succeed I guess I'll be buying another line.
 

1967 'cuda

Well-Known Member
Joined
Mar 6, 2014
Messages
794
Reaction score
0
Location
David City, Nebraska
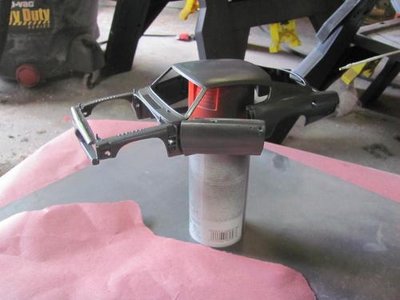
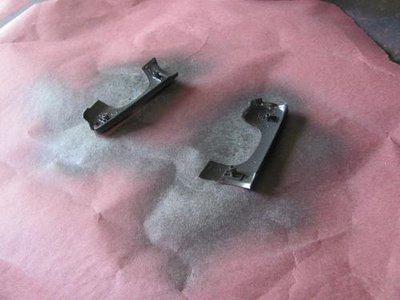
My brake flaring tool broke, so I looked for another form of diversion until the parts stores open tomorrow. I had an 1/18th scale die cast '68 Barracuda sitting on my shelf. I decided to clone it into a mini version of my car. After dismantling it I poof canned some metallic gray on it.

IMG_0609.jpgIMG_0610.jpg

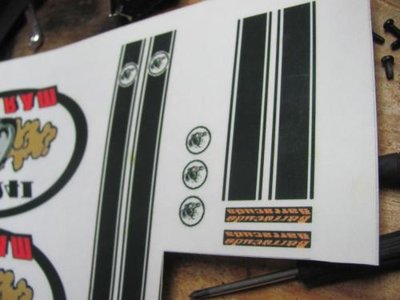
Using my printer and some decal paper I made some tail stripes with the Barracuda logo and some Barracuda lettering for the hood. I still need to print out some license plates. LOL!

IMG_0614.jpg

IMG_0609.jpg

IMG_0610.jpg

IMG_0614.jpg
 

1967 'cuda

Well-Known Member
Joined
Mar 6, 2014
Messages
794
Reaction score
0
Location
David City, Nebraska
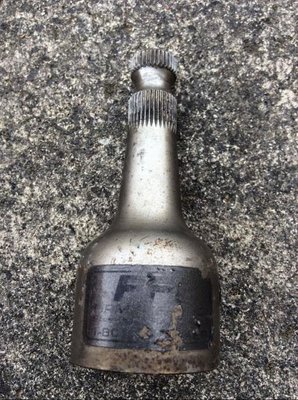
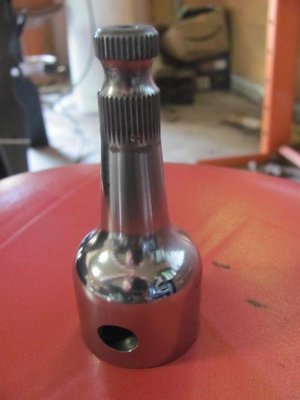
The used FIRM FEEL steering shaft adapter came the other day. There was a clearcoat on it that was pitted up so I used some lacquer thinner to strip it off and then I buffed it on the bench grinder. I don't have a roll pin for it yet so I'll have to wait until tomorrow to get one.


Cap.jpg
IMG_0619.jpg

IMG_0619.jpg

Cap.jpg
 
Last edited:

Budnicks

I will apologize to everyone in advance
Joined
Nov 9, 2013
Messages
549
Reaction score
26
Location
Sonora Ca.
looking good, allot of small changes, will be well worth the effort, I wish you continued good luck...

I can relate with the wrong parts deal, this time it's my fault thou, I ordered some 3 x 1" phenolic 2bbl spacers for my car & I got them the next-day from Summit Racing $29.95 ea., but unfortunately they fit a Rochchester 2bbl's DOOOOH !!, I should have known, so I called Summit's 800#, talked to a rep there, they are shipping out the correct phenolic 1" spacers, I should get them tomorrow, there more money of course $40.97 ea., I'll get a refund on my Credit card & free shipping back with the wrong parts...

IMHFO you gotta' love Summit Racing & their great customer service & fast shipping...

If they have the parts in-stock in Reno, Nevada store/warehouse, I order last night, then got the parts today at 11:00am, I'm in Sonora Ca. a couple of hundred miles away, free shipping too... :flag:
 

1967 'cuda

Well-Known Member
Joined
Mar 6, 2014
Messages
794
Reaction score
0
Location
David City, Nebraska
looking good, allot of small changes, will be well worth the effort, I wish you continued good luck...

I can relate with the wrong parts deal, this time it's my fault thou, I ordered some 3 x 1" phenolic 2bbl spacers for my car & I got them the next-day from Summit Racing $29.95 ea., but unfortunately they fit a Rochchester 2bbl's DOOOOH !!, I should have known, so I called Summit's 800#, talked to a rep there, they are shipping out the correct phenolic 1" spacers, I should get them tomorrow, there more money of course $40.97 ea., I'll get a refund on my Credit card & free shipping back with the wrong parts...

IMHFO you gotta' love Summit Racing & their great customer service & fast shipping...

If they have the parts in-stock in Reno, Nevada store/warehouse, I order last night, then got the parts today at 11:00am, I'm in Sonora Ca. a couple of hundred miles away, free shipping too... :flag:

I order a lot from Summit and JEGS. For me it's usually 2 days for delivery from either. I've never had a problem with either company. Once JEGS had mis-advertised a disc brake conversion on eBay. When I received the kit without an e-brake (although it was listed as including one), I called them up and they sent me the one that I had ordered for no extra charge even though it was supposed to be another $200. My headers are supposed to fit A, B, and E bodies. So hopefully they'll fit without any modifications. If I hadn't already had them sitting in the garage, I might have considered the TTIs. I sure wish they didn't cost so dang much. We chose TTIs for our Charger (bought a used set) mainly because they were supposed to give us the best ground clearance. These ones from JEGS look like they hang pretty low when I mocked them up on the engine stand.

I've got a new line-loc sitting on the shelf but it was slated to be used on the Charger. I've been toying with the idea of snitching it for the Barracuda though.

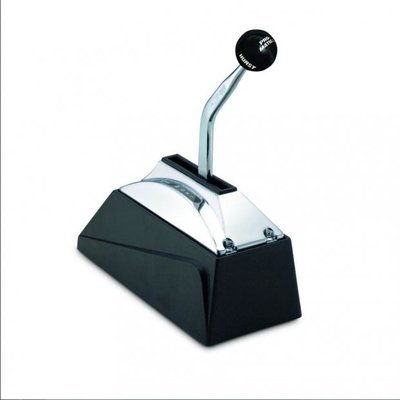
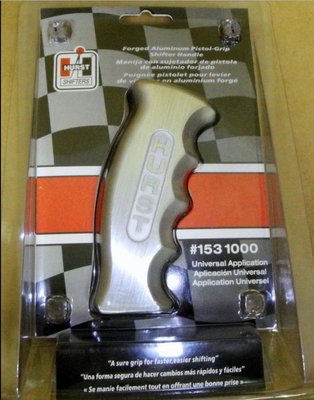
One of the next problems I'm worried about is using this manual valve body with the column shift. I'm afraid I might bump into the wrong gear. I'm considering going to a floor mounted ratchet shifter. Everyone seems to like the Cheetah shifters (and I have one in the Duster) but I'm leaning towards a Hurst 3838510 Pro-Matic 2 and adding an aluminum pistol grip handle (153-1000)
to it.

zzzzzz.jpgzzzzz.jpg

zzzzz.jpg

zzzzzz.jpg
 

1967 'cuda

Well-Known Member
Joined
Mar 6, 2014
Messages
794
Reaction score
0
Location
David City, Nebraska
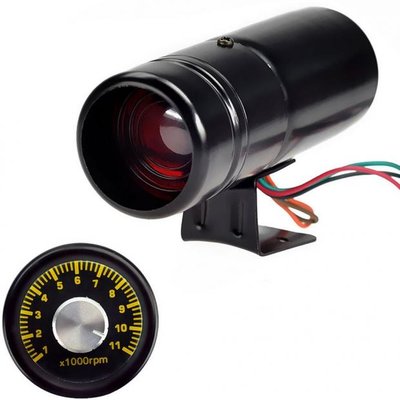
Way back when I chose a tach to use I wasn't too concerned about functionality. I had an automatic and I figured I'd be using it for tuning reference more than shift points. I bought a small one that I mounted on top of the dash pad because I figured it wouldn't interfere with road visibility. But now that I've got that full manual valve body I realized it's going to be difficult to read. So I bought an adjustable shift light now that I can run with the old tach.

zzzz.jpg

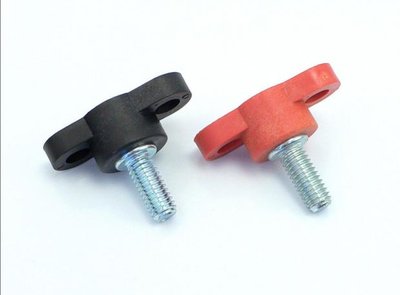
One other thing I ordered was a set of insulated remote wiring posts so that I can clean up some of that wiring around my battery. I have a ton of wiring running to the battery terminals. Hopefully I can reduce the number of wires connecting directly to the battery to just a few. I'd like to make a covering of some sorts for the rest of the wires too.

zzz.jpg

zzz.jpg

zzzz.jpg
 

1967 'cuda

Well-Known Member
Joined
Mar 6, 2014
Messages
794
Reaction score
0
Location
David City, Nebraska
I think I'm turning into a constant complainer. This winter it was to cold to get anything done. Then it was too rainy for me to work in my driveway. Then the damn junebugs and mosquitoes kept chasing me back in the house. Now (even though the thermometer shows mid-eighties), It's too hot. The humidity is killer today. I think I sweated off 5 pounds just poking my head outside.

So, why poke my head outside?

IMG_0626.jpg

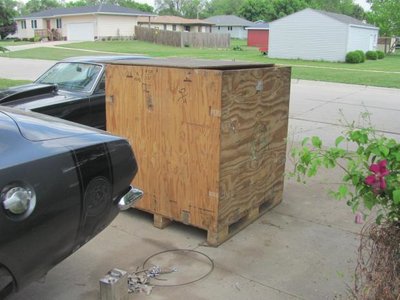
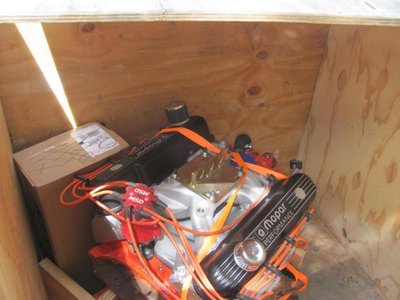
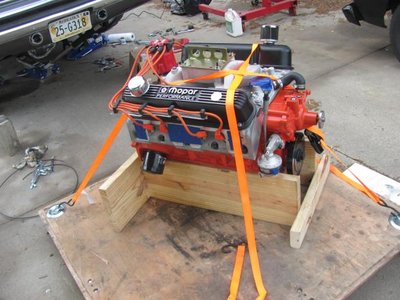
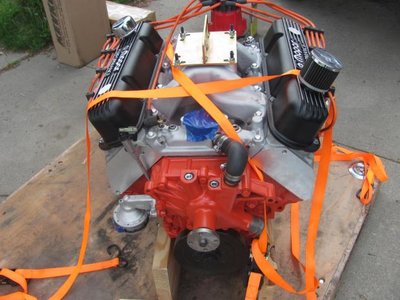
It's here!

IMG_0624.jpg
IMG_0625.jpg
IMG_0627.jpg
IMG_0628.jpg
IMG_0629.jpg
IMG_0630.jpg

IMG_0624.jpg

IMG_0625.jpg

IMG_0626.jpg

IMG_0627.jpg

IMG_0628.jpg

IMG_0629.jpg

IMG_0630.jpg
 

1967 'cuda

Well-Known Member
Joined
Mar 6, 2014
Messages
794
Reaction score
0
Location
David City, Nebraska
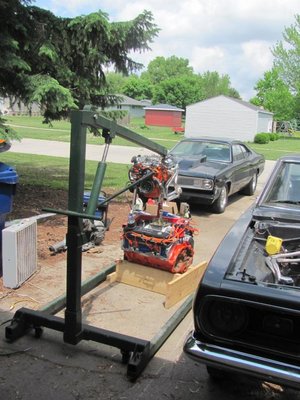
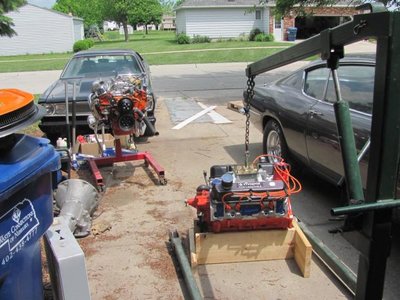
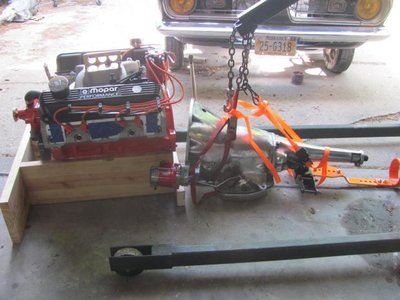
OK. I was naive enough to think I'd have the engine in today, but that's not going to happen. Everything uncrated fine. I moved the motor in front of the Barracuda where I figured I'd transfer all of the small parts from the 318. Next I picked up the torqueflite with the cherry picker and brought it behind the engine. That's when I realized that Mike had forgotten to send the new flex plate. I tried calling him right away but he must be busy in the machine shop.

IMG_0637.jpg

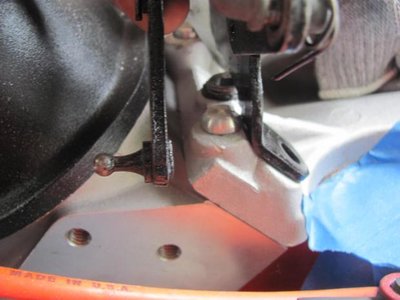
Next I grabbed my kick-down linkage to put it in place. Aargh! It doesn't fit. I'll have to either find a bracket that will work or modify this old one.

IMG_0631.jpg

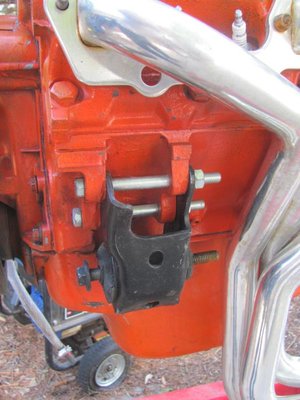
Well, I guess I'll turn my attention to the motor mounts. I should have cleaned them up before but I forgot.

IMG_0636.jpg

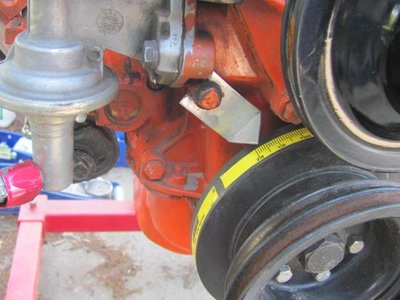
I had to make myself a pointer for the 318 that was in the car before. It was running a newer front cover with the old style water pump and the lower radiator hose hides the timing mark. The 408 is set up the same way so I'll have to transfer my pointer. I forgot to order new timing tape. Doh!

IMG_0633.jpg

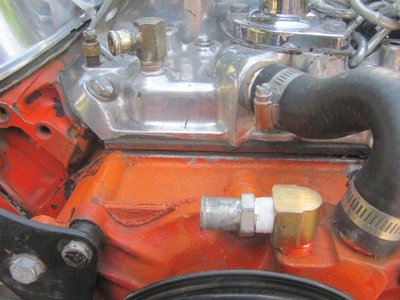
My cars are year round daily drivers so I'll need to transfer my fittings for the heater hoses to the new motor.

IMG_0634.jpg

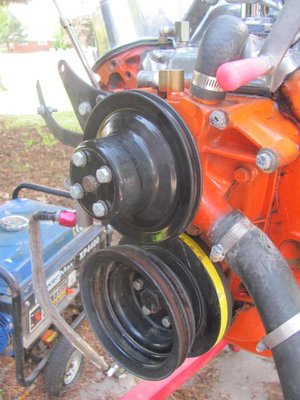
I might as well transfer the pulleys now too.

IMG_0635.jpg

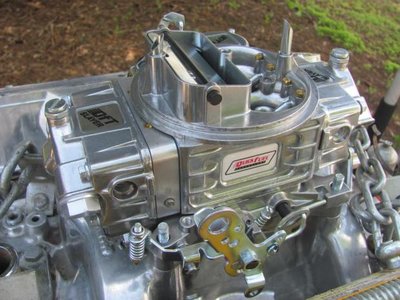
The new carb is from Quick Fuel. I think all of my linkage from the old Holley will work.

IMG_0632.jpg


IMG_0631.jpg

IMG_0632.jpg

IMG_0633.jpg

IMG_0634.jpg

IMG_0635.jpg

IMG_0636.jpg

IMG_0637.jpg
 

1967 'cuda

Well-Known Member
Joined
Mar 6, 2014
Messages
794
Reaction score
0
Location
David City, Nebraska
After talking with Mike I realized that there was a communication mix-up regarding the flex plate. I should have read through his parts list. He feels confident that my stock flex plate will be OK as long as I don't add a transmission brake or 4000+ stall converter.

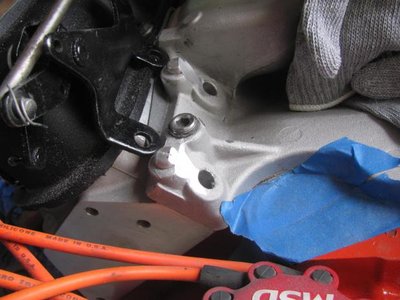
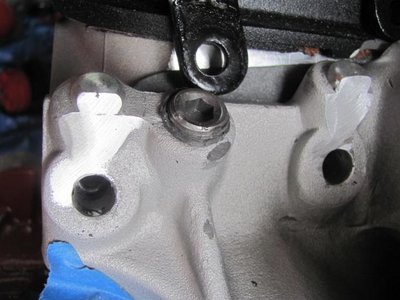
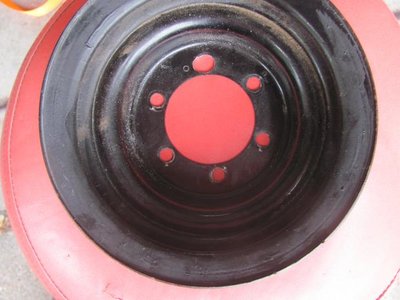
I still need to modify the intake in order to mount my kick down linkage and auger out one hole on my crank pulley. I may have to re-school myself on the motor mounts. I see that the mounts do not align the same on this 360 block.
 

1967 'cuda

Well-Known Member
Joined
Mar 6, 2014
Messages
794
Reaction score
0
Location
David City, Nebraska
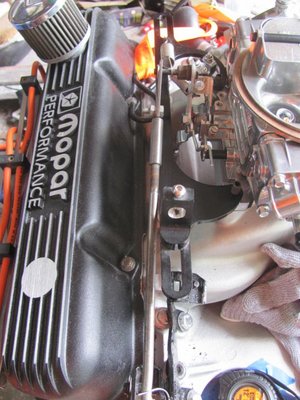
Sometimes it's the little stuff that gives you the biggest headaches. I've still been fighting with the throttle and kick down linkage. The throttle arm on the new carb is a half inch closer to the carb body than my old carburetor. It may not sound like much of a difference but it's enough to cause my cable, springs, and kick down lever to bind against my throttle bracket. I've spent the last few hours tweaking everything to make it work.

IMG_0643.jpg


IMG_0643.jpg
 
Back
Top