Ritchie Valens
Active Member
- Joined
- Jun 23, 2021
- Messages
- 40
- Reaction score
- 52
Hey everyone,
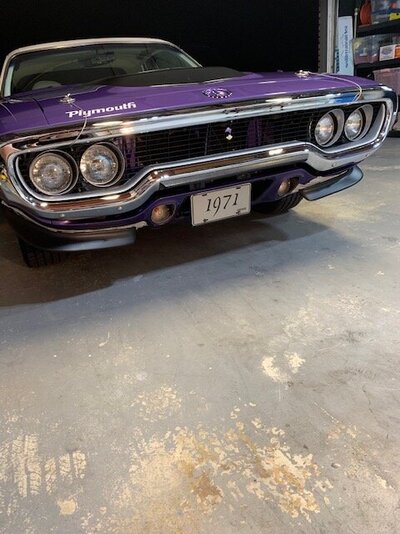
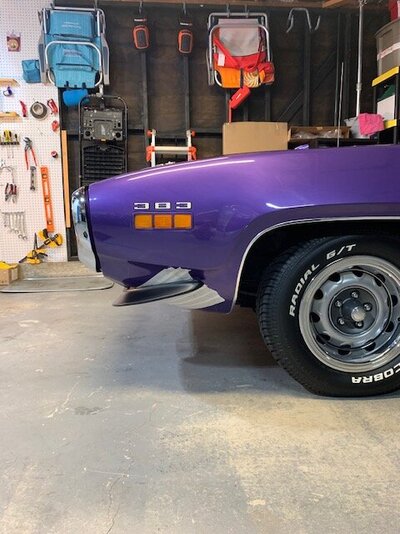
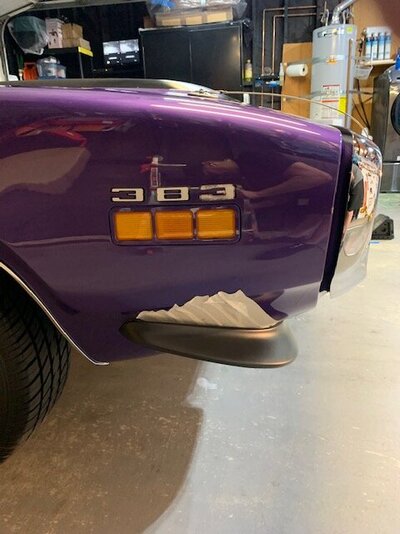
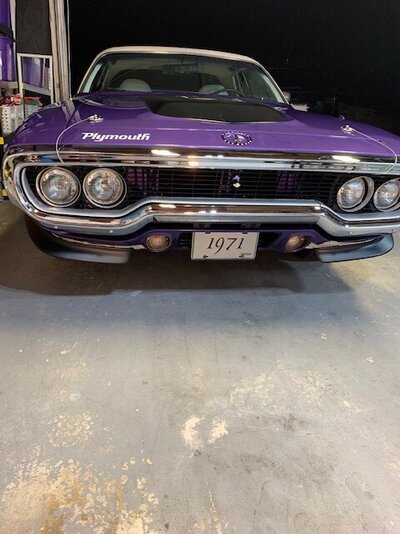
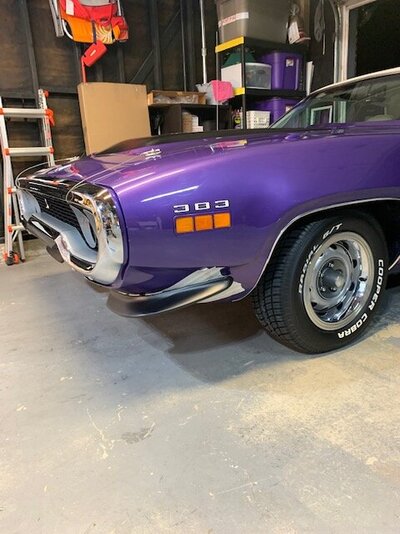
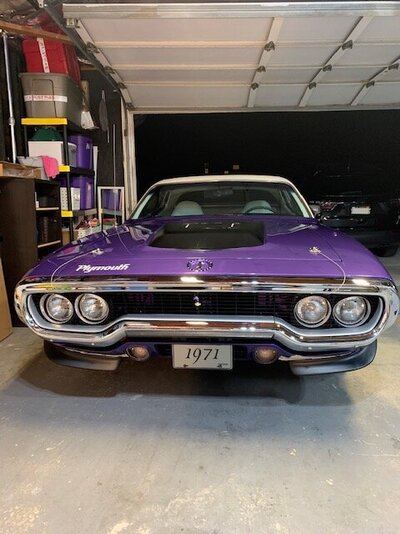
I finally got a pair of front chin spoilers for my 1971 Roadrunner. As you may know, the instructions for these spoilers are basically non-existing. Luckily, the vendor who sold me the spoilers sent me an interesting explanation for the lack of instructions and also offered some basic guidelines to installing them. Pretty good helpful tips. See pictures below.
Now, I don't claim this is the end all when it comes to this issue. But once you read on, you might find it making a little sense. I know it may go without saying, but never purchase fiberglass spoilers. They were not factory and break easily. The factory were made of a hard plastic similar to the plastic used for quality rear spoiler go-wings and gull-wings. So don't waste your money on fiberglass.
So, research confirmed that when the factory ordered them, the front spoilers were supplied to the new car dealer in the trunk of the car. The dealer then had to install them- following the instruction sheet that was supplied with the spoilers. The rationale of this system was to ease transportation of the car to the dealer as the low hanging spoilers could interfere with the loading and unloading of the car in the transportation trailer.
The word is these spoilers were provided with instructions with very specific placement in regards to the car body crease lines, ect. However, it appears the the exact placement was not strictly adhered to since the mounting holes in the body panels were not predrilled and measuring precisely added time to the job. It's not hard to imagine how a dealer prep worker approximated the placement of the spoiler, drilled holes, and finished mounting as quickly as possible. This explains the variety of placement locations we have all witnessed on original cars.
Here are some tips tp help you mounting your front chin spoilers:
1. First, identify the driver's side and passenger side spoiler by using the part numbers on the inside of the spoiler. If the number ends in an odd digit, it is the driver's side. Ending in an even digit indicates the passenger side. You might also see a faint "L" or "R" where L is driver's side and R is passenger side.
2. To confirm the mounting location, it's recommended you use a small amount of double-sided to tentatively install the spoiler and judge placement. Adjust placement until you identify the location that looks good to you. You can also use pictures on the internet to find a placement you like from another car.
3. The mounting holes in the body are specified to be 5/16" in diameter. Remember to always drill a pilot hole!
4. The bolt and washer are inserted from the outside front of the car through the spoiler then through the body panel. The nut with encapsulated washer secures the spoiler from the backside of the fender/front pan.
Finally, keep in mind, a new set of chin spoilers will not fit perfect on the car. You have to play with it a little to find a good spot knowing you will have to push one side of the spoiler up against the body in order to screw it into place. That's why the plastic is better. It's less brittle and more forgiving.
Hope this helps anyone now or future members on the forum. I have not drilled into my body yet. I have the placement done and tomorrow I start drilling. Next I will be installing a passenger side racing bullet style chrome mirror. Will post pics on that as well. Small jobs, but they gotta get done! Thank you everyone!
~Ritchie Valens


Last edited:
