Big John
Sit back, relax Don't bitch about the cigar smoke
- Joined
- Sep 8, 2008
- Messages
- 5,057
- Reaction score
- 81
Let's get the show on the road here!
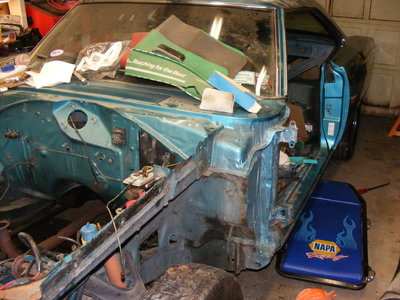
I had to take the drip molding off the Roadrunner and quite honestly, I was really worried about screwing it up. I found this tip in Larry Lyles' "Project Charger" restoration book. Its a great book with lots of good B-Body tips althoughm I don't agree with the gluing on of patch panels, but that's a subject for another discussion.
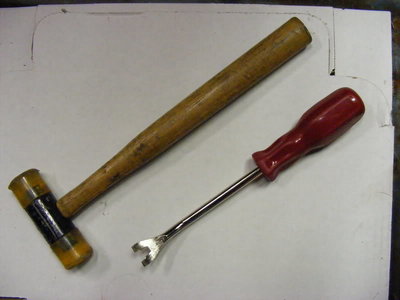
First, you'll need a hammer (I prefer a plastic face Stanley) and a door panel trim remover.

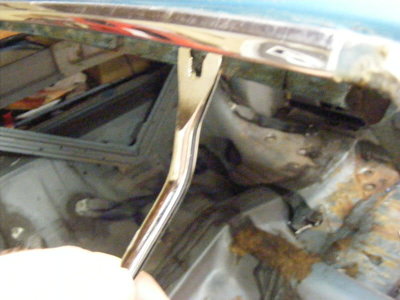
You put the tip of the remover up against the bottom edge of the molding.

And smack it with the hammer.

With a little patience, you work your way along the molding, hitting the remover about every inch or so. You may have to go over it a couple times to get it off, but if you take your time and do it right, the molding is off the car in short order. The first side took me about 30 minutes and the second was done in less then 10.
BTW, I took the second pic by myself, holding the camera in my mouth and pushing the timer button..
I had to take the drip molding off the Roadrunner and quite honestly, I was really worried about screwing it up. I found this tip in Larry Lyles' "Project Charger" restoration book. Its a great book with lots of good B-Body tips althoughm I don't agree with the gluing on of patch panels, but that's a subject for another discussion.
First, you'll need a hammer (I prefer a plastic face Stanley) and a door panel trim remover.

You put the tip of the remover up against the bottom edge of the molding.

And smack it with the hammer.

With a little patience, you work your way along the molding, hitting the remover about every inch or so. You may have to go over it a couple times to get it off, but if you take your time and do it right, the molding is off the car in short order. The first side took me about 30 minutes and the second was done in less then 10.
BTW, I took the second pic by myself, holding the camera in my mouth and pushing the timer button..

